U.S. Army photo by Staff Sgt. Anthony Housey.
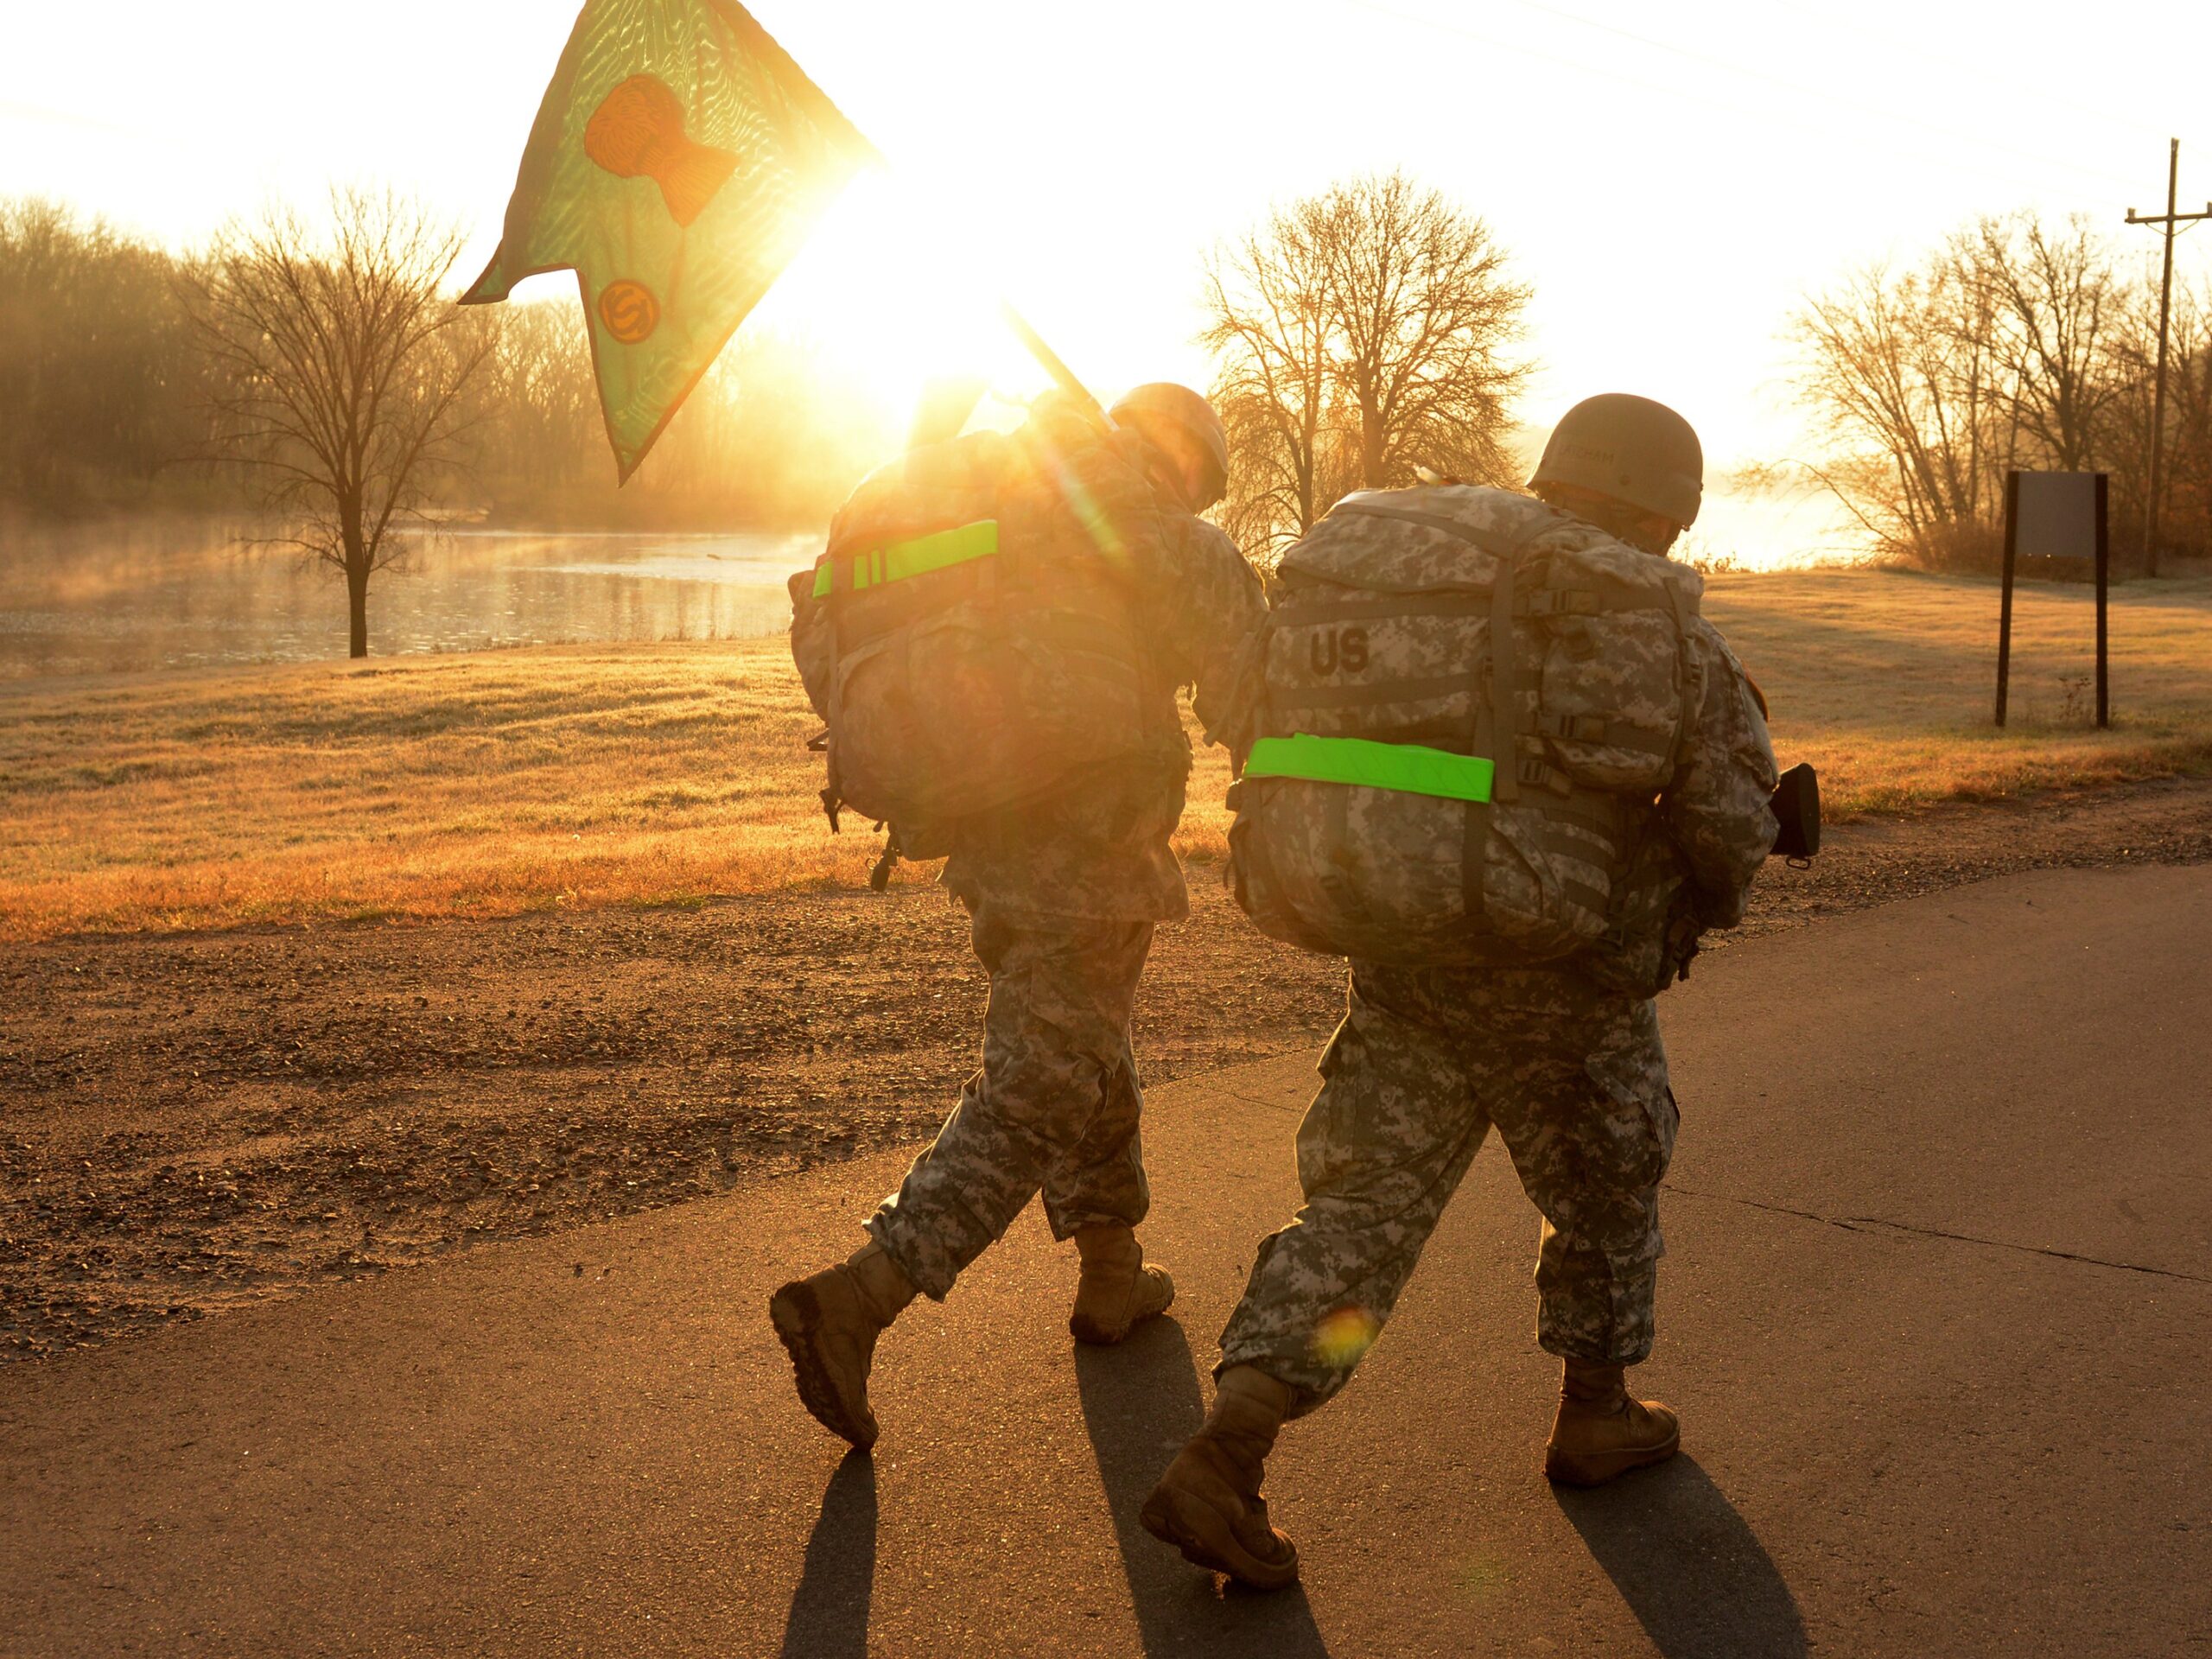
Rucking is a low-intensity interval training workout that involves walking with a weighted backpack, also known as a rucksack. It originated from military training, where soldiers had to carry heavy loads for long distances. Rucking has many benefits for physical and mental health, such as improving cardiovascular fitness, strengthening muscles, burning calories, enhancing posture, and boosting mood. Rucking is also a simple and accessible way to exercise, as it only requires a backpack, some weight, and comfortable footwear. You can ruck anywhere, anytime, and with anyone. Rucking can be customized to your fitness level and goals by adjusting the weight. Getting started is easy.
Choose a Suitable Backpack
You can use any backpack that fits comfortably and securely on your back, but ideally you should look for one that has padded straps, a chest strap, and a waist belt to distribute the weight evenly and prevent injuries. Here are some guidelines:
A good backpack for rucking should meet four criteria: fit, material, straps and features. The fit depends on your torso length and the weight you plan to carry. A poorly fitted backpack can make you uncomfortable and unstable. The backpack should be made of durable and water-resistant material that can withstand the wear and tear of rucking. The backpack should have padded and adjustable shoulder straps, chest straps and waist/hip belts that can distribute the weight evenly and reduce the strain on your shoulders and back. They should also be secure and easy to adjust. There should include enough pockets and compartments to organize your items and access them quickly. You may also want some extras that can improve your rucking experience, such as a hydration system, a whistle, a reflective strip, etc.
These are some of the factors that you should consider when choosing a suitable backpack for rucking. You can also read reviews and recommendations from other ruckers to find the best backpack for your needs.

Add Some Weight
You can use anything for weight that fits in your backpack, such as books, water bottles, sandbags, or weights. Make sure the weight is stable and balanced in your backpack and avoid overloading it or putting too much pressure on your spine.
The amount of weight you should carry depends on your bodyweight, fitness level, and rucking goals. If you are new to rucking, start with 10% – 15% of your bodyweight. For example, if you weigh 200 pounds, you can carry 20 – 30 pounds (9-14 kg) in your rucksack. This will help you get used to the movement and avoid injuries.
If you want to increase the intensity of your rucking workouts, you can add weight in 5 – 10-pound (2-5 kg) increments as you progress in your training program. However, do not exceed 30% of your bodyweight, as this can put too much stress on your joints and spine. For example, if you weigh 200 pounds, you should not carry more than 60 pounds (27 kg) in your rucksack.
If you are training for a specific rucking event, such as a military or endurance challenge, you should follow the weight requirements of that event. Some events may require heavier weight than others, so make sure you check the rules and regulations before you sign up. For example, some events may require you to carry 33 pounds (15 kg) or more in your rucksack.
Remember to listen to your body and adjust the weight accordingly. Rucking should be challenging but not painful. If you experience any discomfort or pain during or after rucking, you may need to reduce the weight or take a break. Rucking is a great way to improve your cardiovascular fitness, strength, and endurance, but only if you do it safely and correctly.
Pick a Route & Pace
You can ruck anywhere you can walk, such as trails, parks, sidewalks, or even indoors on a treadmill. Choose a route that matches your skill level and interest and vary it from time to time to keep things fresh and challenging. You can also ruck with friends or join a rucking club or event to make it more fun and social. As for the pace, you should aim for a brisk but comfortable walk that elevates your heart rate and makes you sweat, but not so fast that you can’t hold a conversation. You can use a fitness tracker or an app to monitor your speed, distance, and calories burned.
Warm Up & Cool Down
Rucking puts a lot of stress on the joints, muscles, and connective tissues, especially in the lower body. Therefore, it is important to warm up and cool down properly before and after rucking. Warming up and cooling down are essential components of rucking that can enhance the benefits and reduce the drawbacks of this activity. By following these tips, you can ruck safely and effectively.
Warming up prepares the body for rucking by increasing blood flow, oxygen delivery, and temperature in the muscles. It also reduces the risk of injury and improves performance. A good warm-up for rucking should include dynamic stretches, such as leg swings, lunges, and arm circles, as well as some light cardio, such as jogging or skipping. The warm-up should last for about 10 to 15 minutes and gradually increase in intensity.
Cooling down helps the body recover from rucking by lowering the heart rate, blood pressure, and temperature in the muscles. It also prevents muscle soreness, stiffness, and cramps. A good cool-down for rucking should include static stretches, such as hamstring, calf, and quadriceps stretches, as well as some gentle movements, such as walking or cycling. The cool-down should last for about 10 to 15 minutes and gradually decrease in intensity.
Before you start rucking, do some dynamic stretches to loosen up your muscles and joints, such as arm circles, shoulder rolls, neck rotations, hip swings, leg swings, lunges, and squats. After you finish rucking, do some static stretches to relax your muscles and prevent soreness, such as toe touches, hamstring stretches, quad stretches, calf stretches, chest stretches, and shoulder stretches. You can also massage your feet, legs, back, and shoulders with a foam roller or a ball to ease any tension or knots.

Stay Hydrated and Fueled
Hydration is one of the most important factors for rucking performance and health. Rucking is a strenuous activity that causes sweating and fluid loss, which can lead to dehydration, fatigue, cramps, heat illness, and impaired cognitive function. To prevent these negative effects, ruckers need to drink enough water before, during, and after their ruck marches.
Before a ruck, it is recommended to drink a gallon of water daily for 2-3 days to start fully hydrated. This will reduce the need to carry excessive amounts of water in the rucksack, which adds extra weight and strain. On the day of the ruck, drink 16-20 fl oz of water or sports drink about two hours before the start, and another 8-10 fl oz 15 minutes before the start.
During a ruck, the amount of water needed depends on several factors, such as the intensity, duration, temperature, humidity, altitude, and individual sweat rate of the rucker. A general guideline is to drink 6-12 fl oz of water or sports drink every 15-20 minutes, or about one quart per hour. However, this may vary depending on the conditions and the rucker’s thirst level. It is important not to overhydrate or underhydrate, as both can be dangerous. A good way to monitor hydration status is to check the color and volume of urine. Ideally, urine should be pale yellow and plentiful. Dark yellow or brown urine indicates dehydration, while clear urine may indicate overhydration.
After a ruck, it is essential to replenish the fluids and electrolytes lost through sweating. Electrolytes are minerals such as sodium, potassium, magnesium, and calcium that help regulate fluid balance, muscle contraction, nerve function, and blood pressure. They can be obtained from food sources such as fruits, vegetables, dairy products, nuts, seeds, and salted snacks, or from drinks such as sports drinks, coconut water, or electrolyte tablets. The amount of fluid and electrolytes needed after a ruck depends on how much weight was lost during the ruck. A simple way to estimate this is to weigh oneself before and after the ruck. For every pound lost, drink 16 fl oz of water or sports drink with electrolytes. Continue to hydrate until urine is pale yellow.
To Sum Up
To sum up, rucking is a simple and effective way to improve your fitness, health and mental well-being. Rucking can help you burn more calories, build strength and endurance, improve your posture and cardiovascular health, and reduce stress and anxiety. Rucking is also a great way to enjoy nature, socialize with friends, or challenge yourself with different terrains and distances. Whether you are a beginner or an experienced rucker, you can always find a way to make rucking fun and rewarding. Remember, rucking is not just a workout, it’s a lifestyle.
Source
5.11
511Tactical.com
*The views and opinions expressed on this website are solely those of the original authors and contributors. These views and opinions do not necessarily represent those of Spotter Up Magazine, the administrative staff, and/or any/all contributors to this site.