I’ve truly enjoyed including the guys at Noble & Blue into our Spotter Up site. We’ve become quick friends. They bring an element often missed around many shooting communities; humility. They are enthusiastic about learning, curious, love gear, spend a lot of time learning about the products they use and write some pretty in-depth articles. We appreciate the content they create and I think you will too-Here’s another for your reading pleasure. Mike~Editor
Prologue
It is funny how social media, when used right, can bring like-minded people together and from such encounters new friendships and collaborations can rise. Not long ago when I decided to look for new ways to improve myself and my skill sets. I followed the blog of IMTT Finland for a long time and I knew they offered, or at least had offered many different courses, like TCCC, rappelling and a variety of shooting courses. So finally I contacted them through Instagram and inquired about a TCCC course.
The response was quick: there won’t be new larger courses for a while, but HE followed our enterprises too and suggested we get together for a day hike and discuss possibilities for collaboration. And before we knew it, we agreed to get personal shooting training from the man! Who could say no to that?
IMTT
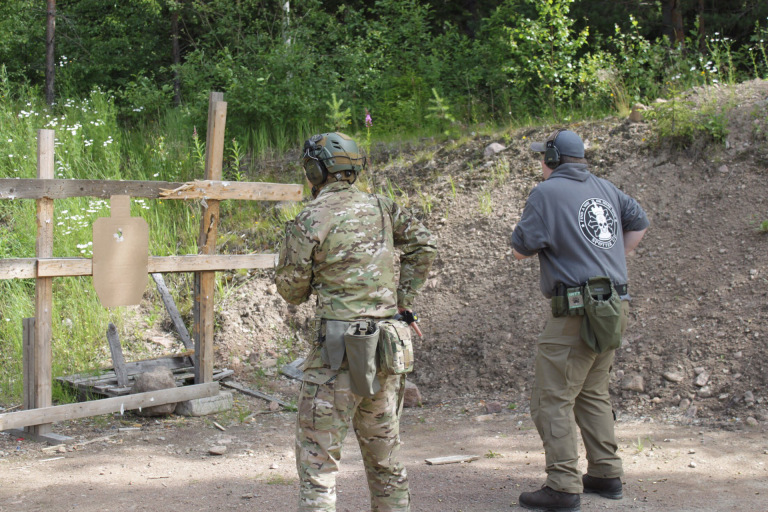
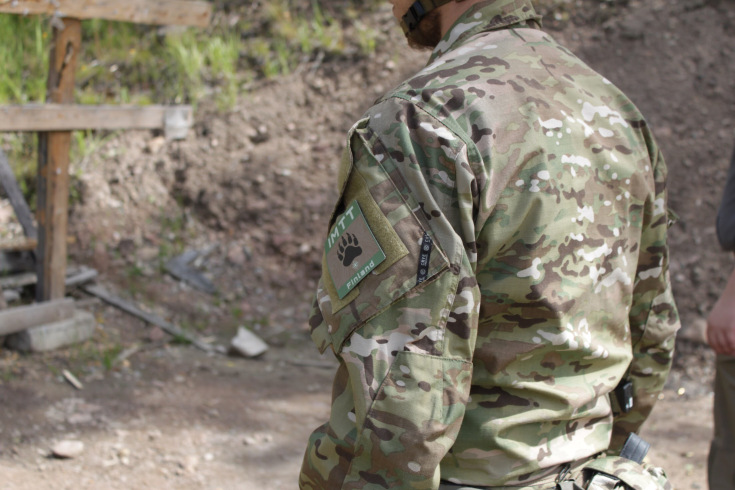
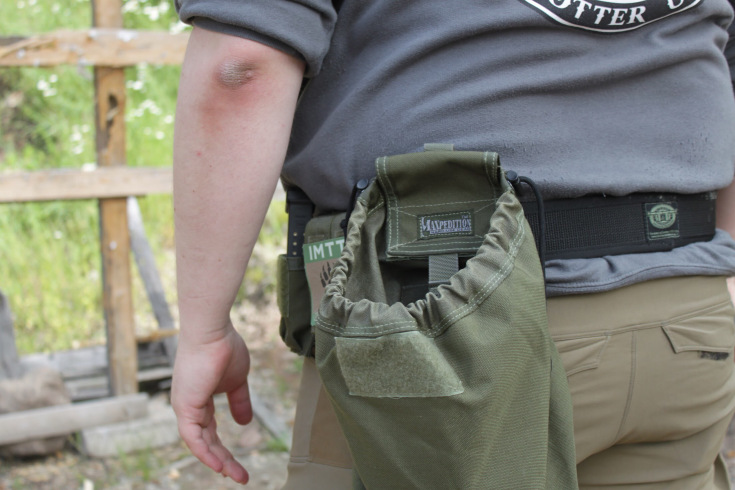
IMTT is an US veteran founded and owned small business, that offers quality training for shooters of all kinds. IMTT stands for International Mobile Training Team, which already tells that, although they are a US based company, they have a lot of trainers around the world who have reached the standard required to be an IMTT instructor. All the instructors have extensive experience, most in Law Enforcement or Special Operations. Our guy Jukka runs IMTT Finland a local subsidiary of the US parent company in Finland and has been trained by none other than Monte, the “grand old man” of IMTT! In addition to IMTT Finland, IMTT –pistol training is also available through Osuva Range & Training in Finland.
The company was founded on the principles that had been lain by the legendary Jeff Cooper who is widely regarded as the father of modern pistolcraft and the founder of Gunsite Academy, which is one of the oldest pistol training centres in USA. PD1A is the basic course of personal handgun defence. The curriculum covers all the basics of safe handling and shooting of the pistol. The course aims to teach the students correct and fluent actions that in the end amount to speed and accuracy combined. In the following we will go through the things we learned on our short first session.
PD1A
Safety first
There are four simple rules to safely handle guns and these are to be observed at all times during training and range work.
1) All guns are always loaded!
Every weapon is treated as if it was loaded, even when you are “sure” it is not. This seems arbitrary to some “more skilled and learned” gun handlers, but it really helps to prevent accidents and negligent discharges. And this rule accumulates to all of the following:
2) Never point the muzzle at anything you’re not willing to destroy
Always keep your finger off the trigger guard when you are not ready to fire the gun. The trigger finger should be kept completely outside the trigger guard. We went through the mechanisms, which produce negligent discharges (ND’s) if the shooter fails to adhere to the rule number 3.
3) Keep your finger off the trigger until you’re ready to fire
Treat the gun as if it had a laser pointing from the barrel at all times. This means that you should not ever point the gun at anything you are not willing to destroy. Not yourself, not your buddy, not animals etc. You should always be aware of what is in front of your barrel, and never sweep your own hand or point the gun to your leg when holstering the weapon. And the next rule adds to this:
4) Be sure of your target, the backstop and beyond
This particularly applies to range practice, but also an important factor to all situations. You should always be aware of what you are shooting, and again: never shoot anything you are not willing to destroy. But you should always check the surroundings too. Bullets usually travel through the material you shoot, especially paper and cardboard targets. And this added to the bullets habit of deflecting from hard surfaces is a bad combo. To avoid any unwanted situations, check for the unseen obstacles behind the target.
With these rules you should be safe enough. Always go through the rules with your buddy before you go blasting off. You will never be too good to skip this part of training, never.
And to add to these, make sure you have your med-kit on you, and that you know where you buddy has his, and that you all are clear on the right procedures in case of an accident: where is the phone, who to call, what to do etc.
The Correct Stance, Grip and Sight Picture
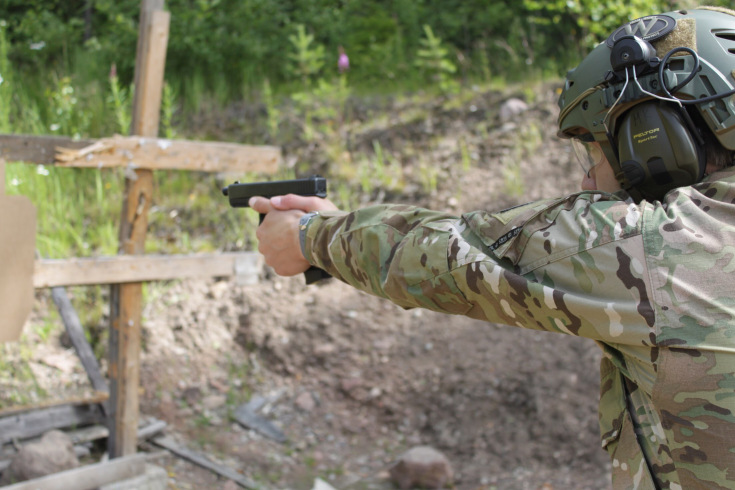
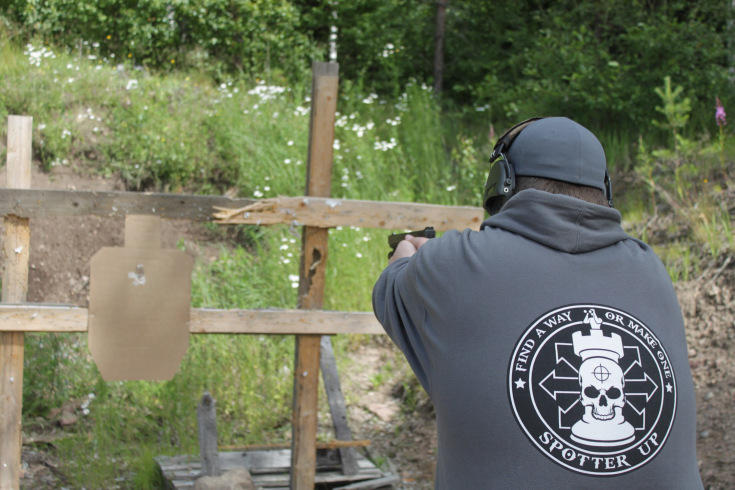
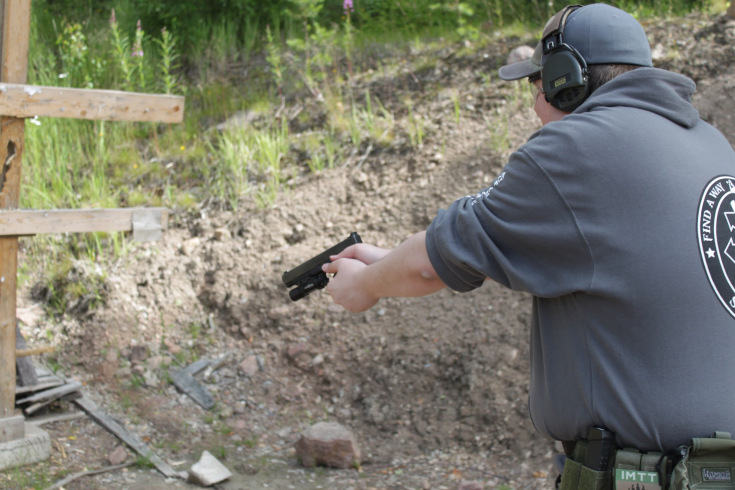
There are two major shooting techniques taught and used by the IMTT instructors: the Weaver and the Isosceles. We trained with the Isosceles and the following description is for that technique, although much of the same principles apply to Weaver as well.
- Have your feet spread out about the width of your shoulders, with the weaker leg a half a step in front of the other (for right-handed shooters, it is the left foot).
- Bend your knees slightly.
- Push your torso a bit to the front, greasing from the hips.
- Hold your both hands tightly in front of you, locking your elbows.
- Keep your head normally straight.
- When bringing your gun up, you bring it to your eye, do not adjust your head to the gun.
- Your hold of the gun should be so that the back of the gun is somewhat in straight line with your arm and your hand high up on the grip.
- Grip the gun quite lightly mostly with your thumb and middle finger, and the supporting hand will lock the grip.
- Point your thumbs front, both on stack on the side of the gun, but be sure not the obstruct the movement of the slide the slide or the stop -lever.
- When looking down the sights, keep ONLY the front sight focused, keep it in between the back sights and on the target.
- The correct stand-by, or more correctly the Low-Ready position is to lower your arms still extended forward to about 45′ downward or as low you need to completely see your target keeping the gun pointed at the direction of the targets.
In all this the main rule is that simplicity is the best, do not make things overly complicated. Smooth is fast, less is more. Stick to the basics as long as you have mastered them and only then you are ready to move forward.
Make ready, make safe
There are two main commands in IMTT firearms training, that a shooter needs to know by heart.
The command “Make ready” is a range command for the shooter to ready himself for live-fire training, than a proper command. Here is what happens after the shooter hears the command: “make ready”:
- Check eye protection
- Check ear protection
- Draw the cold weapon from holster (and here you might want to acquire one sight picture to the targets for practice)
- You then drop your hands to the 45′ low-ready position.
- Take a magazine from your pocket, or practically anywhere else than your quick draw mag pouches.
- Proper way to grasp the mag is to put your index finger extended on the front of the mag, this helps you to guide the mag to the magwell better.
- You put the mag “flat-on-flat to the pistol, i.e. you put the back of the mag to the flat back of the mag well and “roll” the mag into place.
- You can then tug on the base of the mag to make sure it is locked in.
- Then you rack the weapon so that you slightly bend your hand and grab the back of the slide with a firm grasping hold with your supporting hand. You then draw the slide back in one quick and firm pull, so that you pulling and slamming your supporting hand hard on your shoulder and simultaneously push your weapon forward while pointing at the target area.
- Then you perform a “chamber check”. This is done so that you draw the slide back just enough for you to see, and to feel with your index finger, that there is a round in the chamber. You then push the slide back slowly to the closed position, making sure it is set all the way forward.
- Then you calmly holster the weapon and indicate to the instructor that you are ready by standing normally on the firing line.
The command “make safe” is a command that comes as a shout from the instructor and the shooters must repeat the shout. ”Make safe” is the opposite of the ”Make ready” –command, and it means we are going to make the guns safe at the end of a live fire training evolution. What happens after the “make safe” command is:
- You take your magazine off your weapon and drop it in a dumb pouch or into a pocket. Never insert a partially spent or an empty magazine into an empty mag pouch!
- You repeat the slide racking procedure from the “make safe” part, this time ejecting the bullet in the chamber. If the slide is already locked in the rear, release it forward.
- Then you proceed to make a “chamber check” again to visually and physically making sure there is no bullet in the chamber and that there is no mag in the well.
- You can make an additional “buddy check” too, by locking the slide to then rear and (while the gun is still in YOUR hand and pointed to the targets) asking your training buddy to do an additional “thumb and eye” check for your weapon.
- Then you gently release the slide and holster the weapon calmly.
- After this, and only after you are sure everyone have holstered their weapons, you can take off your ear and eye pro.
The ”Make ready” and ”Make safe” –procedures are more than just range commands. They are also used mentally before going into (or returning from) a real world operation. These procedures and what they hold in them work like a pilots check-list. You should make a habit of this preparation and safety sequence, like the pilots do, that you mentally check every part off from your list, so that the training can be carried through safely and smoothly. They should be performed the same way every time.
The 5 step presentation draw, Reholstering, Scanning and Assessing
The correct way to draw the pistol from its holster is with the following steps:
- Take a full firing grip of the pistol and pull the pistol out, releasing the possible retention systems you have on your holster. At the same time bring your supporting hand to your chest close to the other hands shoulder, or to your belt buckle area.
- Clearing the weapon up to 1-2″ straight up from the holster is the second step (Clear). High enough to clear the barrel from the holster and you to swing the weapon forward in the next step.
- On step 3 you point the weapon towards the target at the same time canting the slide outboard to clear any gear or clothing if you need to fire from this position.
- Then in one straight move PUSH the pistol in a straight line towards the target, connecting the supporting hand (Step 4 ”Smack”) and composing the correct two-hand grip in the mid push, and at the same time you start to acquire the correct sight picture and drawing the slack of the trigger gently (but so that you do not pull the trigger yet).
- You push until your hands are almost completely stretched out. In the final inches you ease in to the full extension and as soon as you acquire the flash sight picture you will complete the compressed surprise break and the gun fires (Step 5 ”Bang”).
The correct way to holster the weapon is basically the same backwards:
- You follow your target to the ground to the low-ready position making sure there is no more need to engage. After that you check the target area for additional targets by scanning and assessing the area. This is done by rotating your upper body with your hands still held in the low ready position and the barrel of the gun draws and arc in front of you (Eyes, Muzzle, Target!) while you break your eye contact with the target in front of you.
- When you are ready, you put your supporting hand again on your chest and draw the weapon back to your armpit, making sure the barrel is still pointed securely to the target area.
- Then you swing the barrel downward and carefully insert the weapon back to the holster. Contrary to popular beliefs you can look down to the holster when you are doing this, so that nothing gets into the holster with the weapon (like clothes or draw cords of jackets), thus compromising safety. If you feel any odd resistance while reholstering, you should always check for foreign objects in the holster to avoid an ND.
The Trigger Pull, Hammer and The Controlled Pair
Lastly, we will go through the correct trigger pull, and clarify a few things that were known to us by name, but did not know what they properly meant.
First the trigger pull. When firing a pistol the trigger pull is paramount ín hitting the target.. A lot can go wrong here.
- The trigger should be pulled smoothly straight back and not jerked as you might think. Jerking causes you to pull the pistol itself, which has a terrible effect on your accuracy together with the recoil.
- The trigger should be placed in anywhere from the middle to the tip of the fore part of your finger.
- First draw off the slack of the trigger pull and when you feel that you hit the threshold where the trigger starts to tension you start to pull gently.
- This should be done so that you do not know when the weapon will fire. This is called Compressed Surprise Break. This way you do not have a chance to falsely “take account” the recoil and that way screwing your own aim.
https://www.youtube.com/watch?v=sKgAkwB8WRo
Then there are the two shooting methods that are called Hammer and Controlled Pair. These are methods used for double-taps, or shooting two bullets in quick succession. These are almost the same thing, but for different uses on the field and range.
The Hammer is meant for quick, close quarters situations, where you need to put hits quickly on the target. Basically Hammer means putting two rounds on target with the same sight picture. In other words, you do not take the front sight off of the target between shots, but after the first shot, you only release your finger to the reset point of the trigger, not completely forward. Then you pull the trigger again and now the pull is a little shorter and lighter compared to the first, and happens much faster.
Controlled Pair is the same, but here you gather another sight picture for the follow-up shot, thus having more control over the second shot than in the hammer. This is used for longer distances, where the shooter is not able to get solid hits with a hammer.
Personal assessment of the First Lesson
Noble
I have more experience with firearms and especially pistols than Blue does and so I was quite confident when we entered the range. But all the times I had shot a pistol on the range and during SRA training (sovellettureserviläisammunta, the Reservists shooting practice), I had not had a proper training for the pistol, just a few advice here and pointers there.
So when we started the PD1A I had a general understanding what we were doing and had done most of the things already. But to my disappointment, and a hit to my confidence, I realised that I had learned a lot of bad habits that affected my accuracy badly. My major problem is that I tend to jerk the trigger rather than pulling it.
I felt pretty bad about my lack of skill. But Rome was not built in a day, as they say. I need to practice my trigger pull and smooth up the other parts so that I can focus fully on the shot. I will and already have trained with my airsoft Glock to improve my skills and hopefully next time I will redeem myself!
Blue
I’m not a complete novice with firearms and have a little experience of shooting a hunting rifle and a shotgun, but when it comes to pistols, I really had no previous experiences. I have always wanted to shoot a pistol and this possibility to start and train under a professionals tutelage was more than I could have hoped for. Most interestingly and truthfully I was quite nervous about shooting a 9mm pistol. Even though this was something I had always kind of played in my head, the recoil and handling a live loaded weapon intimidated me.
My nervousness and light anxiety soon faded once we got to shooting after a good session of basic draw and aiming drills. At first I was kind of caught off guard the bangs of Noble getting his rounds off first right next to me, but I soon got used to it and got more comfortable with the gun and the recoil.
I was glad to see that I was able to pull off good and solid shots and my aim was good and the grouping stayed pretty tight! I guess I had a good “clean slate” to build the basics on and I’m quite proud of having achieved the results that I got. But there’s no room to get cocky and staying humble is always good. I’m really grateful for this opportunity and am anxious to learn more!
Here is a link to IMTT Finland’s web page: http://www.imttfinland.fi
And a link to IMTT’s web page:’
http://www.imtt.net/
*The views and opinions expressed on this website are solely those of the original authors and contributors. These views and opinions do not necessarily represent those of Spotter Up Magazine, the administrative staff, and/or any/all contributors to this site.
[jetpack_subscription_form]
Brought to you by the dudes at Spotter Up

