In emergency situations, having a reliable source of heat and light is crucial. Making emergency candles can provide you with a valuable resource when conventional power sources are unavailable. Here’s a step-by-step guide on how to make emergency candles using common household items:
Materials you’ll need:
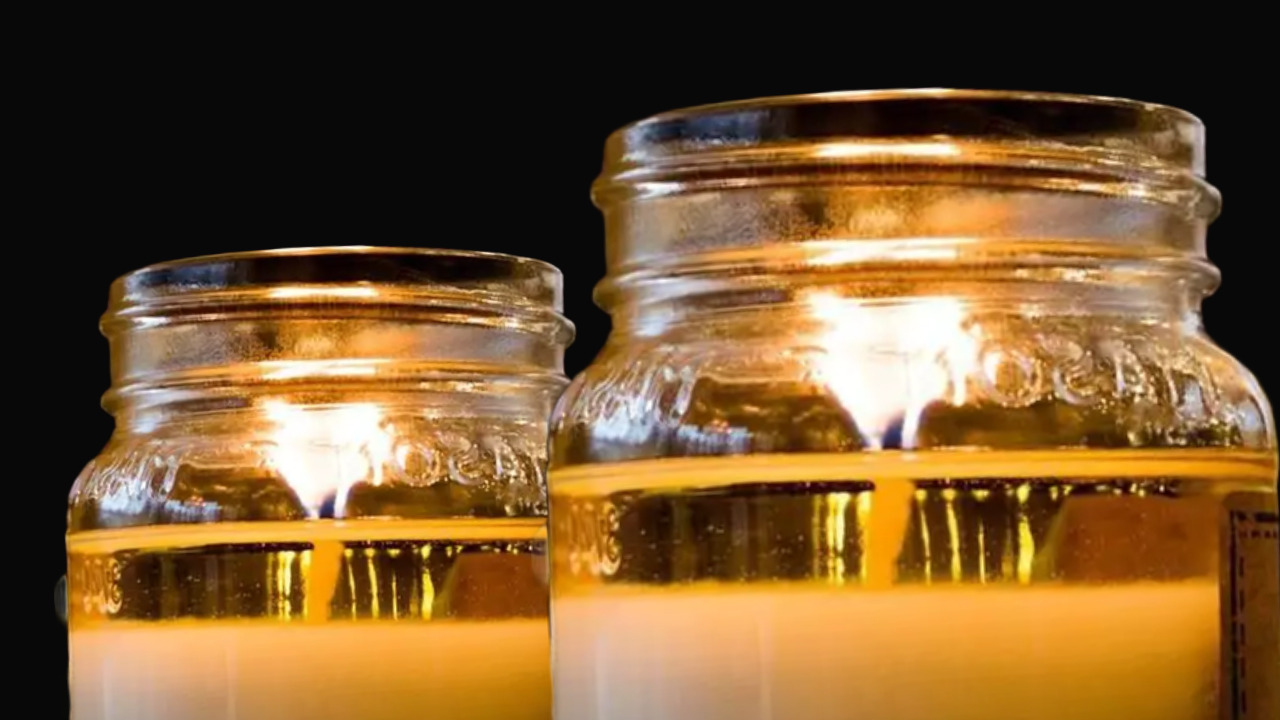
- Empty glass jars or containers (such as mason jars or tin cans)
- Candle wicks (available at craft stores or online)
- Wax (can be old candles, crayons, or paraffin wax)
- Double boiler or a makeshift double boiler using a heat-safe container and a pot
- Heat source (stove or hot plate)
- Essential oils (optional for fragrance)
- Pencils, sticks, or clothespins (to hold the wicks in place)
Here’s the process:
- Prepare your containers: Clean and dry your glass jars or containers thoroughly. Make sure they are heat-safe and won’t crack or shatter when exposed to heat.
- Set up a double boiler: Fill a pot with water and place it on the stove or hot plate. Place a heat-safe container or a makeshift double boiler on top of the pot. The water in the pot should simmer gently, not boil.
- Melt the wax: Break up your wax into small pieces and place them in the heat-safe container. Allow the wax to melt slowly over low to medium heat. Stir occasionally for even melting. If using crayons, remove any paper wrappers beforehand.
- Add fragrance (optional): If desired, you can add a few drops of essential oils to the melted wax to create a pleasant scent. Stir well to distribute the fragrance evenly.
- Prepare the wicks: While the wax is melting, attach the candle wicks to the center of each container. You can use a pencil, stick, or clothespin to hold the wick in place, ensuring it stays upright and centered.
- Pour the melted wax: Once the wax has melted completely, carefully pour it into the prepared containers. Leave some space at the top to avoid overflowing when the candle solidifies. Keep the wicks straight and centered while pouring.
- Let the candles cool and solidify: Allow the candles to cool and solidify completely. This process can take several hours, so be patient. Avoid moving or disturbing the containers until the wax has completely hardened.
- Trim the wicks: Once the candles have cooled and solidified, trim the wicks to a suitable length (approximately ¼ inch or 0.6 cm) using scissors or a wick trimmer. This helps ensure a clean and efficient burn.
- Test and store: Before relying on your emergency candles, it’s a good idea to test one to ensure it burns properly. Store the remaining candles in a cool, dry place until needed.
Remember, safety is paramount when dealing with open flames. Never leave burning candles unattended and keep them away from flammable materials. Use caution and common sense when using emergency candles for heat and light.
By following these steps, you can create homemade emergency candles that can provide both illumination and warmth during power outages or other emergency situations. Stay prepared and stay safe!