Part 3: Backyard Bladesmithing Getting It Hot Enough To Shape
You must have a good base of coals. The best fuel source for forging a blade is charcoal. You do not want to use charcoal briquettes since the binder that is used to hold the briquettes together can stick to your blade material and cause pitting. If you purchase charcoal use natural hardwood lump charcoal.
However, any hardwood firewood will work. Just like getting the grill ready for steaks, your forge fire should burn long enough to have a good base of coals lining the bottom of the forge (in order to properly heat your blade material it must be completely covered by the charcoal).

You will want to bury your blade material until it is completely covered in the coals. Provide the forced air into the base of your forge and keep an eye on your steel. Provide the forced air into the base of your force and keep an eye on your steel. As it heats up it will begin to change color from black/grey to a dull red then to a nice bright orange. It gets about 1500 degrees. We caution that you will not want to get the steel hotter than this or you will actually begin to burn the steel.

Part 4: Backyard Bladesmithing Shaping the Tip
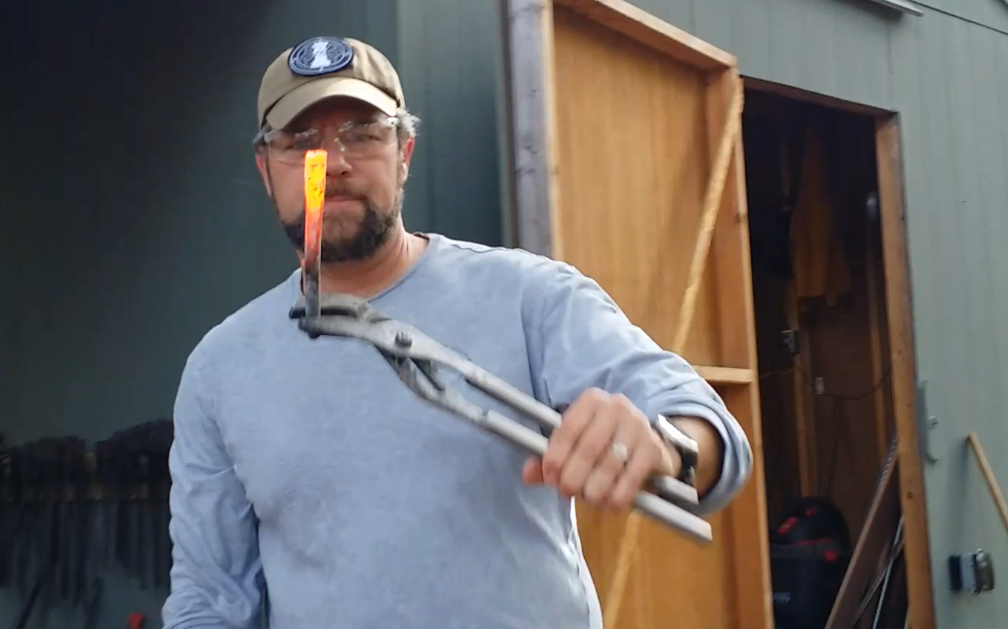
Once your steel has reached a bright orange, it is at a good forging temperature. Use your tongs to remove it from the fire and begin to hammer the steel into the shape you desire. As you hammer, the steel will start to cool – comparatively speaking – and lose color. Once the color returns to a dull red or feels less pliable under the hammer it is time to put it back into the fire.
Again, completely cover with fuel, add the forced air and bring the steel back up to the bright orange.

The metal now is so hot that it is soft enough to flatten out in order to shape the tip. Start at the top of the bar and work your way down. Using the head of a sledge-hammer embedded in concrete to act as the flat surface of an anvil.
The blade should be forged to a point. You can get there with some patience and you forge the blade so one side is the spine and the other side the blade edge. Don’t forget to leave the end part of your blade to become the tang. At least 2 inches should be sufficient for this. Repeated blows on the metal will slowly form the blade, work from the top to the bottom, and work on both sides to prevent distortion.

Part 5: Backyard Bladesmithing: Working the Middle

The steel will begin to change color from black/grey to a dull red then to a nice bright orange. You will not want to get the steel hotter than this or you will actually begin to burn the steel. Once your steel has reached a bright orange, it is at a good forging temperature.

Use your tongs to remove it from the fire and begin to hammer the steel into the shape you desire. As you hammer, the steel will start to cool – comparatively speaking – and lose color. Once the color returns to a dull red or feels less pliable under the hammer it is time to put it back into the fire.
Part 6: Backyard Bladesmithing: Fire Too Hot
https://www.youtube.com/watch?v=F54yzQPwCzs
In this short video, we discuss how the fire can be too hot. What occurs here is the metal begins to flake off. You can use your hammer to knock the flakes off. If you watch the video you’ll notice that the bar begins to take a shape.
Part 7: Backyard Bladesmithing: Annealing your Metal
https://youtu.be/FxNyyCOS6Po
- heat (metal or glass) and allow it to cool slowly, in order to remove internal stresses and toughen it.
We are done with the forging. Within the charcoal pit is left the blade/steel. By doing we are attempting to take the stress out of the steel by annealing it. In the video, you can see how the air is turned off. We take the tongs and move the charcoal over the blade that is inside the heat. We allow the metal to sit inside the charcoal where it will cook over a period of time. We will put dirt over the top and let it sit overnight.
Annealing, in metallurgy and materials science, is a heat treatment that alters the physical and sometimes chemical properties of a material to increase its ductility and to make it more workable.
It softens the carbon steels and allows the metal to be filed, sawed or bent. It involves heating a material to above its glass transition temperature, maintaining a suitable temperature, and then cooling. Annealing can induce ductility, soften material, relieve internal stresses, refine the structure by making it homogeneous, and improve cold working properties.
In the cases of copper, steel, silver, and brass, this process is performed by heating the material (generally until glowing) for a while and then slowly letting it cool to room temperature in still air. Copper, silver and brass can be cooled slowly in air, or quickly by quenching in water, unlike ferrous metals, such as steel, which must be cooled slowly to anneal. In this fashion, the metal is softened and prepared for further work—such as shaping, stamping, or forming.
Note: “Once you forged as close to shape as possible, it is time to anneal the steel. Forging introduces a great deal of stress into the steel. In order to relieve this stress you must anneal the steel, which will soften it and allow it to be shaped and manipulated by files for that final shape. To do this you heat the steel up to a bright red color, remove from the fire and allow it to cool in still air until it is cool enough to handle. Repeat this two more times. Once you have annealed your steel you can file it down to its final shape.”
Part 8: Backyard Bladesmithing: From Coil Spring to Knife

You can pick up metal from many car junk yards in order to select your high-carbon steel. If you want a durable cutting edge than you’ll want to forge out of high-carbon. Industrial equipment and scrapped automobiles are a good place to look for your steel in this wrecking yards.
- Anti-roll bars
- Push rods
- Starter springs
- Suspension coil springs
- Torsion bars
- Vehicle Leaf Spring
A trip to the local junkyard can yield some great blade material. Some of the best items to get ahold of are leaf springs and coil springs from old American-made trucks. These are normally made out of high carbon spring steel known as 5160 (a further discussion will be coming soon regarding the differences in blade steels and what makes certain steels better for various uses).
One caveat with these springs is that they are in a heat treated state and tempered for their specific use and will require either mechanical means of cutting to size or a technique known as hot cutting. If you happen to find – or have – an old tire iron your in luck since you can avoid most of the cutting requirements. The tire iron is also made from either 5160 or another high carbon steel known as 1095 – another great blade steel.
Another caveat; there are a lot of people who make some great looking knives out of railroad spikes. These knives do look good but make better letter openers than knives. The carbon content in these railroad spikes is not high enough to make a good knife.