
As some of my followers already know, I am a fan of a lightweight tent for bugging out verses a simple, cheap tarp or trying to go all Joe Teti and make something from sticks. Sure, if I only have enough money for a tarp, that’s what I’m getting and I will learn to do the best I can with it. However, I have been there and done that for years as a Green Beret. Truthfully, the Army poncho isn’t much more than a tarp, albeit a little smaller and a little lighter. The Army shelter half, that’s heavy and isn’t much more than technology from the War of Northern Aggression.
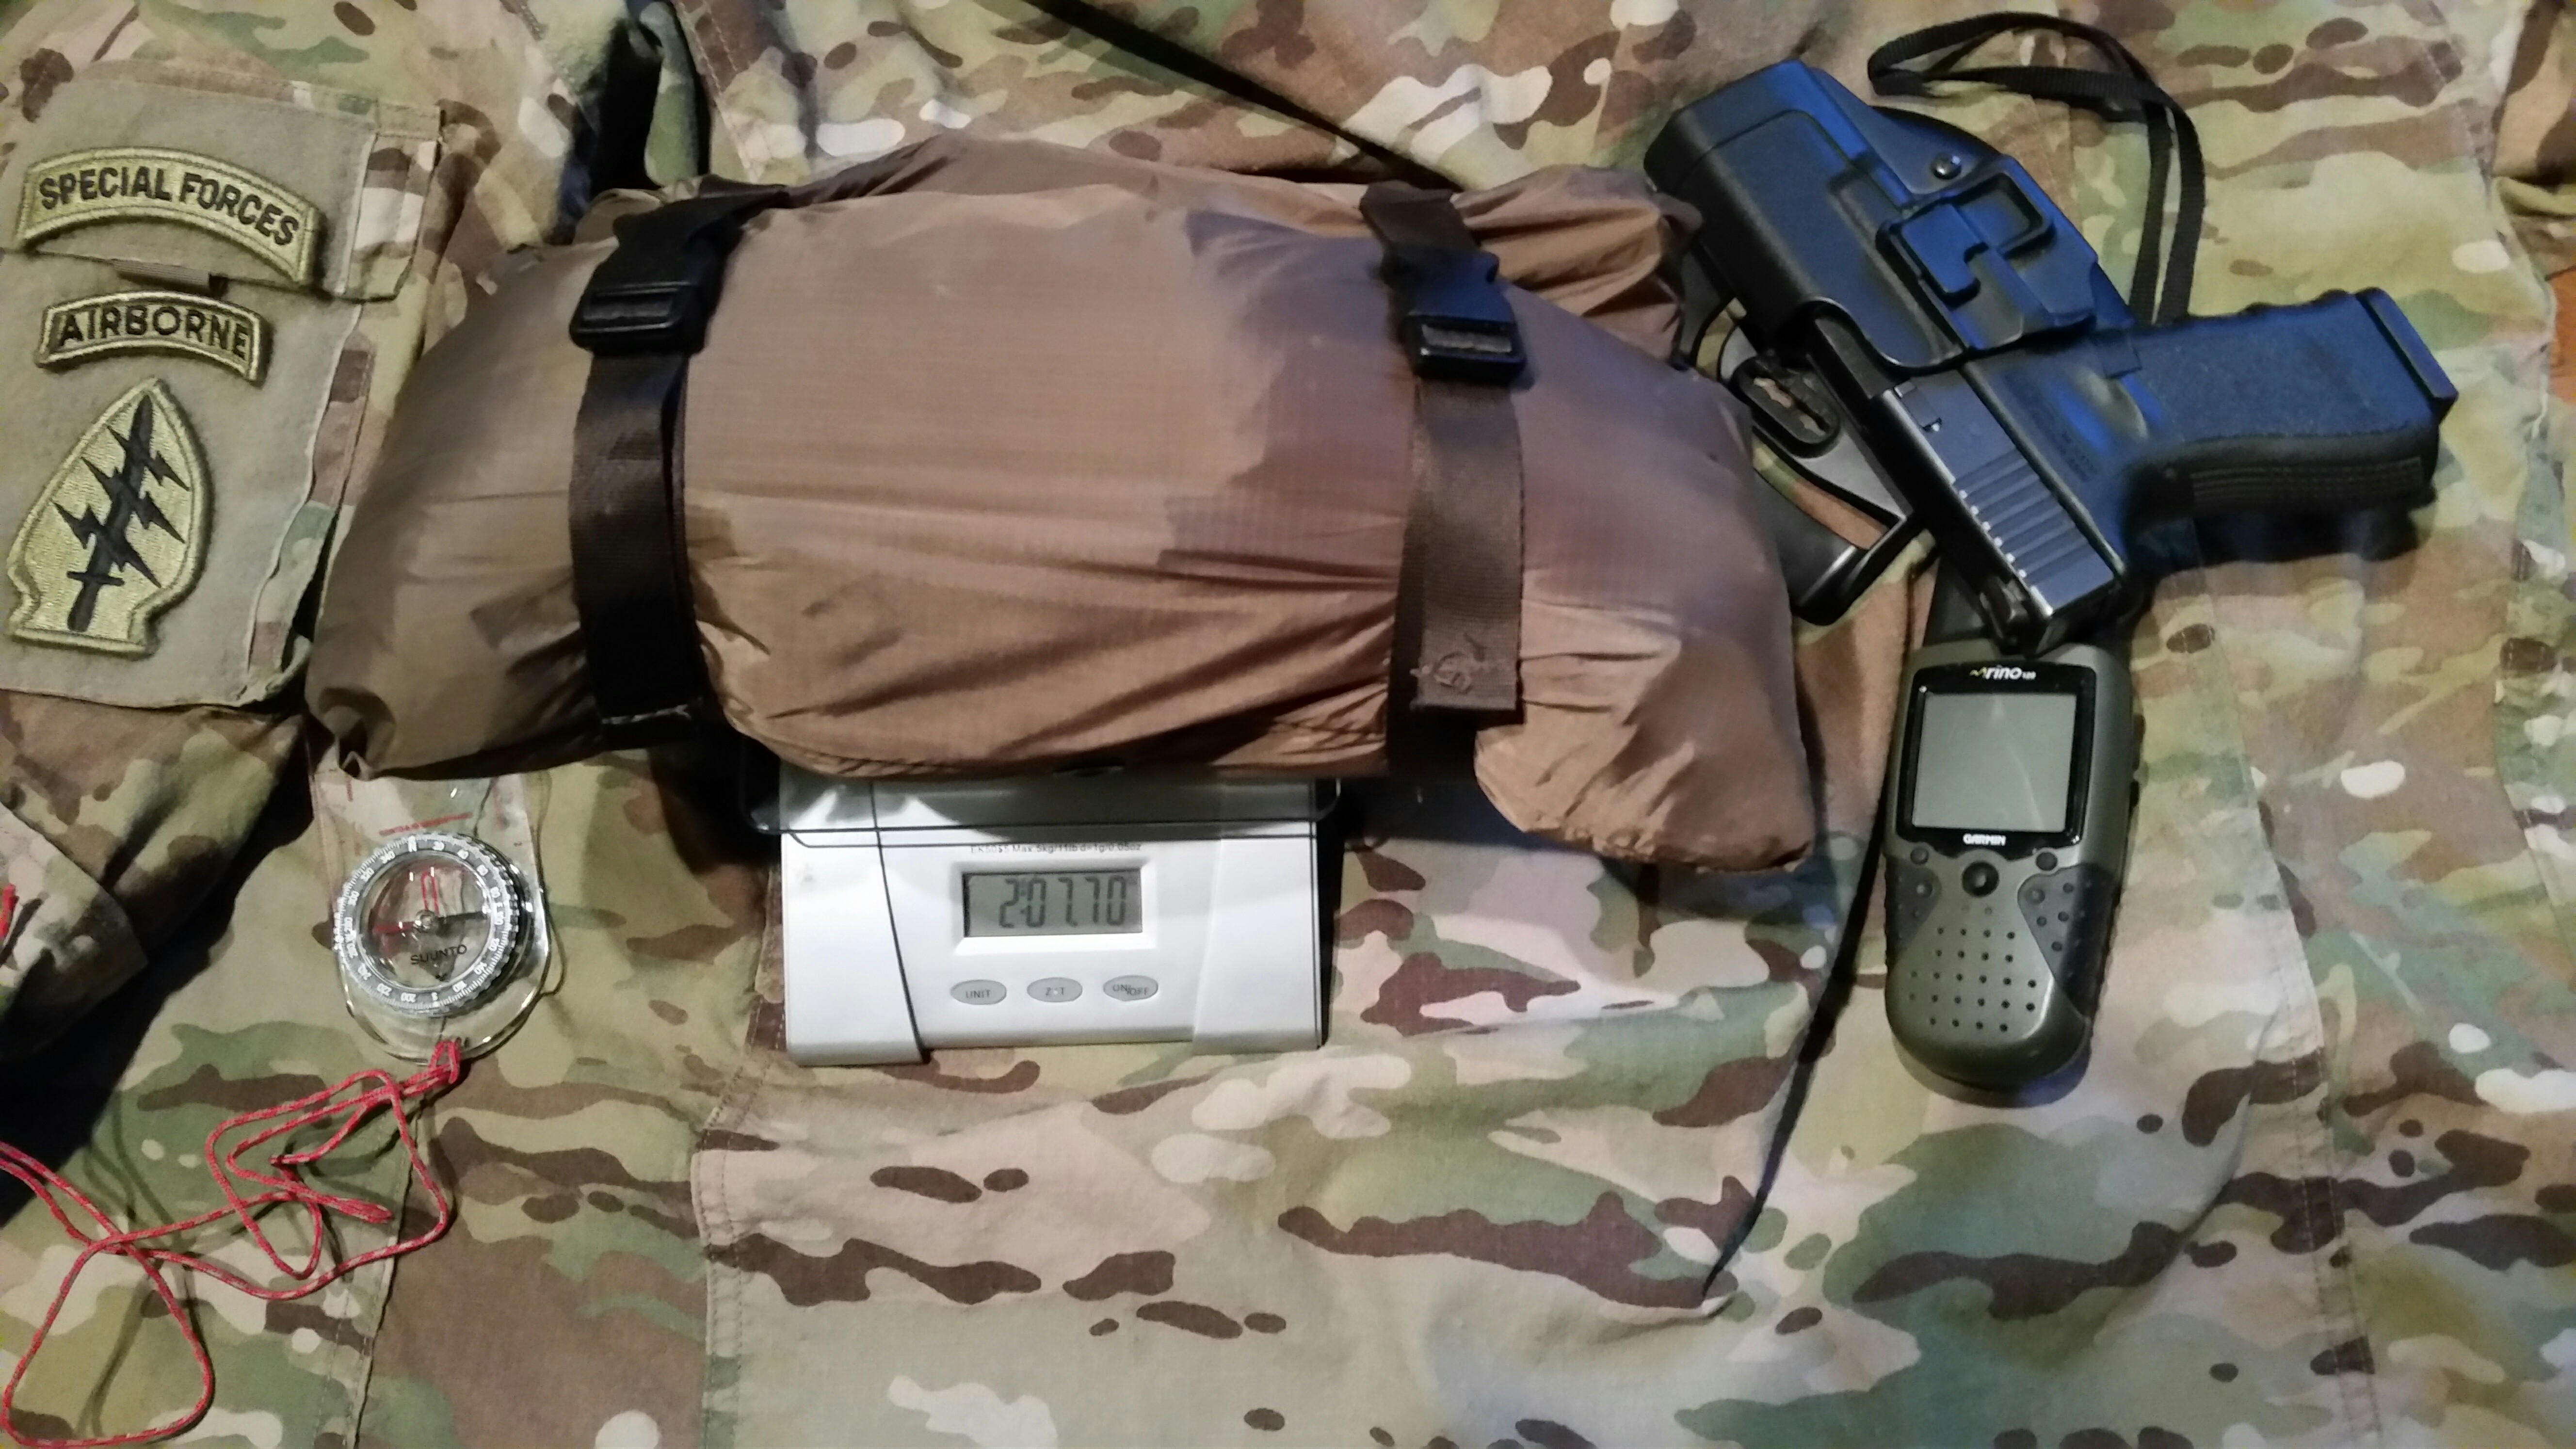
Tent loosely packed into it’s carrying case, still slightly damp from the rain. The scale is calibrated.
First let me qualify myself a bit, 16 years as a Green Beret in the 5th Special Forces Group. For those that don’t know, “The Legion” covers the Middle East. So whether it’s desert, woodland US, rain, snow, I’ve spent more nights sleeping in a bivvy sack, sleeping bag, on the hood of a HMMWV, under a HMMWV, on an M1 Abrams or on the rooftop of a building adjacent to some bad guys.
When you are bugging out, or bugging home, (these terms will be used synonymously) you should have a cache network. I’m getting older and I’m not the spry young Special Forces guy I once was. I also prefer some comfort when at all possible. Therefore, I have devised a network of caches, as you should, to help you met from point A to point B. That’s either to or from work and on alternate routes. This allows me to start off with nothing and get what I need during my travels without becoming a looter (like most so called “preppers” will become….the zombies are coming!). In some cases this isn’t possible. In those cases you carry what you need for that season and scenario.
I have said before, the size of your bug out bag is inversely proportional to your skills. Low skill level equates to needing more stuff and vice versa. There are always exceptions and common sense reasons that this can change. Personally, I prefer to add a lightweight tent to my bob. It allows me to be 100% positive I will always have a quick, reliable, dry shelter. So, on to my review of the MMI Catoma Raider one man tent.
Why a one man tent? Cross loading and autonomy. If you are bugging out as a couple or family, if one of you goes down, the others could be left without shelter. If each person carries their own tent, everyone will always have shelter. You wouldn’t carry just one means of protection right? What if one of you needs to move to another location for some reason (service a cache) while the others stand guard? Larger tents can take quite a while to set up and take down. Also, you sometimes need more than one person to set them up.

Out of the box, the MMI Raider Tent weighed in at 2.08lbs. Not too shabby for a full on all weather shelter. I commissioned my 14 year old son to set it up. As a control measure he did not know I was timing him. Unfortunately, the instructions were non visual, yet he still figured it out and had it set up for the first time in a little over 8 minutes. The take down was 4 minutes and 35 seconds. We both spent the night in the tent over two days. The temp only hit the mid 30’s but with a green “Army Patrol Bag” ($19.99 surplus) it was comfortable. By the way, that sleeping bag weighs in at 2.4 lbs, compresses to a size slightly larger than the Raider tent. Seems like a winning combo to me for the weight and space.
It rained in the early morning hours of the first night and there were no leaks. It rained most of the next day and though we were in and out of it, it stayed dry. The tent beaded up the rain like a champ, no need for silicone spray out of the box.
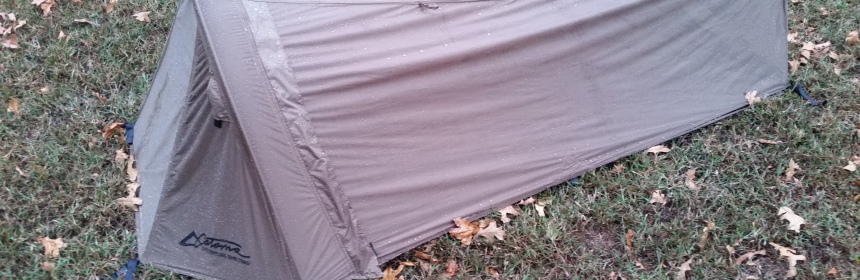
I am 5’10” and felt I had plenty of room. I placed my boots near my head and still had room for a small bag. The design of the tent doesn’t promote condensation collecting on the inside and dripping on you. As you can see in the photos, there is the inner part that can be used as a stand alone mosquito style tent, and the outer cover that protects against the elements. Or you could just carry the outer cover for half the weight and space. The outer cover can be adjusted all the way to ground level to prevent cold air from entering yet with just a little gap, allows for fresh air to circulate. If you are 6′ 6″ , it may be a little tight. If you are more than 40″ all around, you may have some trouble.
I timed my son setting up the tent a third time and it went from me tossing it to him, to ready in 6 minutes and 16 seconds. We also discovered that it was easier to roll both halves of the tent up together which had it packed up and ready to go in just over 3 minutes. We didn’t test the set up time after we figured out the new technique.
I really liked the Coyote tan color of the tent. As you can see (or maybe not) in one of the photos, a 5 minute hasty camouflage job made it virtually disappear into the Fall backdrop of Western Kentucky. I’m certain I could make it disappear in most any foliage (did I mention MMI makes thermal mitigating hidesites and net systems that actually work against thermal scopes?).

Hasty setup and camouflage of the Raider tent. about 10 minutes. Picture is from about 40 feet away.
A bug out shelter should be more than a shelter, it should also serve as a hide. If you are lost in a national forest, by all means shoot off your best Batman Signal but if you are bugging out because you are in a warzone or in a SHTF situation, a low profile may be in order.

The Raider tent is stuffed into my Cryptek pattern baseball cap. The tent pegs to the left and the spreader to the right.
All in all, I’m glad I have this tent, though I think my son has commandeered it for himself. I’m willing to carry the 2lbs that fits within the space of a baseball cap (you could probably stuff it in a Nalgene bottle). I’d also add the 2.4lbs of a surplus army sleeping bag that takes up almost twice that space. Both for the peace of mind knowing I will never need to expend massive amounts of precious time and energy to build a Discovery Channel survival shelter, as long as I have my BOB. It’s also a tremendous benefit that I can set it up or take it down while I’m waiting for my Ramen to boil. Additionally, I can’t pack up my leanto style pine pole shelter, that I spent hours and 2000 calories building on my first night, and carry it with me during my bug out. Don’t get me wrong, those basic shelter building skills are essential but if you are using them, either you weren’t ready or things have gone terribly bad. That’s worth $179 to me, despite the weak plastic clip on the guy line that pulls tension on the tent.
I know we can’t all afford that price and will opt for a tarp, a cheap Ozark trail tent, a poncho, a shelter half or what have ya, but its like anything else. You make due until you can get something better. As always, prioritize your readiness funds. I’ll be getting two more of these tents in the future.
That’s this Green Beret’s assessment. Take it, or leave it.
De Oppresso Liber
All content from this article courtesy of our friend Jay Paisley (18z) ret. 5th Special Forces Group and CAG/SMU
*The views and opinions expressed on this website are solely those of the original authors and contributors. These views and opinions do not necessarily represent those of Spotter Up Magazine, the administrative staff, and/or any/all contributors to this site.