by Clay Pollack
Drilling the holes-
Take both of your limbs and draw a line straight across them measured 3” up from the base (where you cut them). Then make a mark directly in the center of that line. Then measure directly across the base and make a mark directly in the center of that. Then draw a straight line connecting these two points.
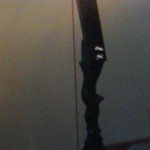
On the vertical line you just drew, measure down 1” and make a mark, and 2” and make another mark. This should give you a 3” section, with a two dots dividing it into thirds. Take a hammer and nail, and tap an indent into those two spots. Then take a limb, and use your clamps to hold it onto the limb attachment face of the riser. Make sure that the limb runs in a completely straight line with the riser! If the limbs are not straight, you will be putting side torque on your bow which not only will decrease accuracy, but will put extra stress on the whole bow and could lead to damage or breakage.
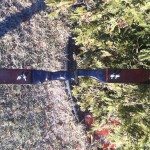
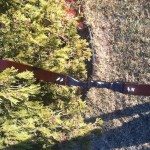
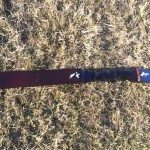
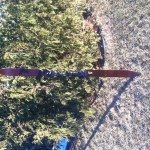
Load a 5/16” drill bit into your drill press or electric drill. Drill a hole through at both of the points you made at a 90 degree angle. Don’t just go through it once though, you need to go up and down through it a few times to make sure that you’re going to be able to get your bolts in and out without any tools. Repeat the process on the other limb. In the end, it should look like this:

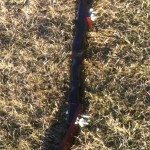
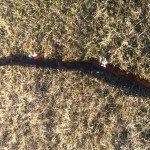
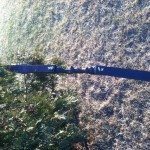
It’s a good idea to label one as the top, and one as the bottom as they probably will not line up exactly right on both sides. Then run some fine grit sandpaper over the holes and the whole limb to remove any excess that you don’t want. It’s also a good idea to countersink the holes that you’ve drilled through the riser. To do this, take a drill bit slightly larger than the washer you’ll be using and drill about 1/8” or so into the side of the riser towards you when you’re holding it. This will prevent the bolt head from tearing into the wood when you draw the bow.
Assembly-
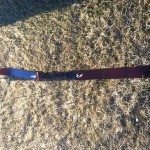
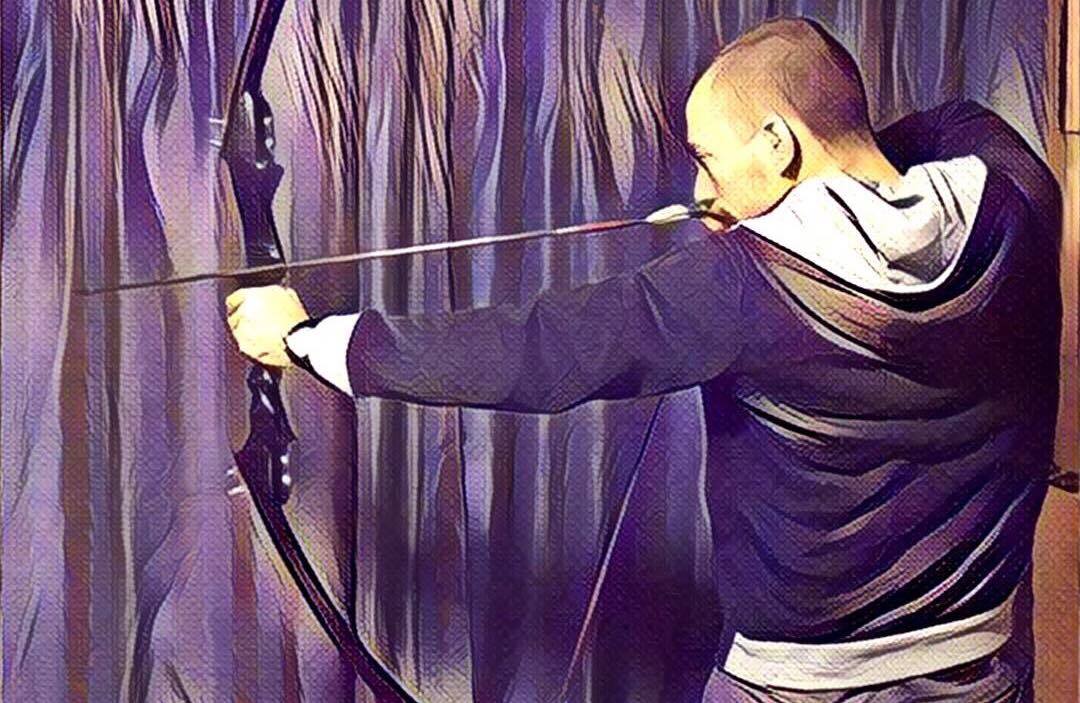
All of the work is now done. To assemble your bow, put a washer on each bolt, and drop it through the part of the bow that faces towards you. Then guide it through the limb on the other side and spin your wing nut onto the end. Now just string up your bow and you’re ready to shoot! Congratulations, you are now the proud owner of your very own recurve bow.
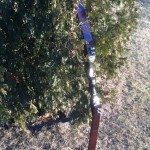
“But teacher!” you exclaim. Really, teacher? Well, I suppose it’s better than author, so I’ll let it slide. “I still do not feel as though my manliness is equal to that of John Rambo!” I know, young one, I know. However, this has been but one step of many to earn the right to wear the sweet sweatband of Rambo. Your next step is to take your new bow out on a mission to save the world! Or hunting. Or shooting a target. Look, I even shot my pumpkin from Halloween.

Making final adjustments-
If your draw weight is too heavy, then you really only have two options.
- Buy a new set of skis, and cut them a few inches longer. Or
- Re-cut your limb attachment faces to a higher degree. If you do this, then you’re going to have to do a little re-drilling to make the holes line up correctly.
If your draw weight is too light, this is a bit easier to deal with. All you’ll have to do is cut some of the length off of your limb. I’d recommend doing this in 1” increments, so you’ll only have to re-drill 1 hole each time. Also, if you take off more than that, you risk changing the draw weight too drastically, and having too heavy of a bow on your hands.
I hope that this guide has been helpful to you in making your own recurve bow. If you enjoyed this project, please check back for more in the future. I will be posting a video guide on how to paint one of these in a snakeskin camo pattern in the near future. If there is interest, I can also post a guide on how to make your own broadhead arrowheads from spoons in the future, just be sure to let me know and to like the Spotter Up Tactical Solutions Facebook page and to visit the website. Thanks for reading!