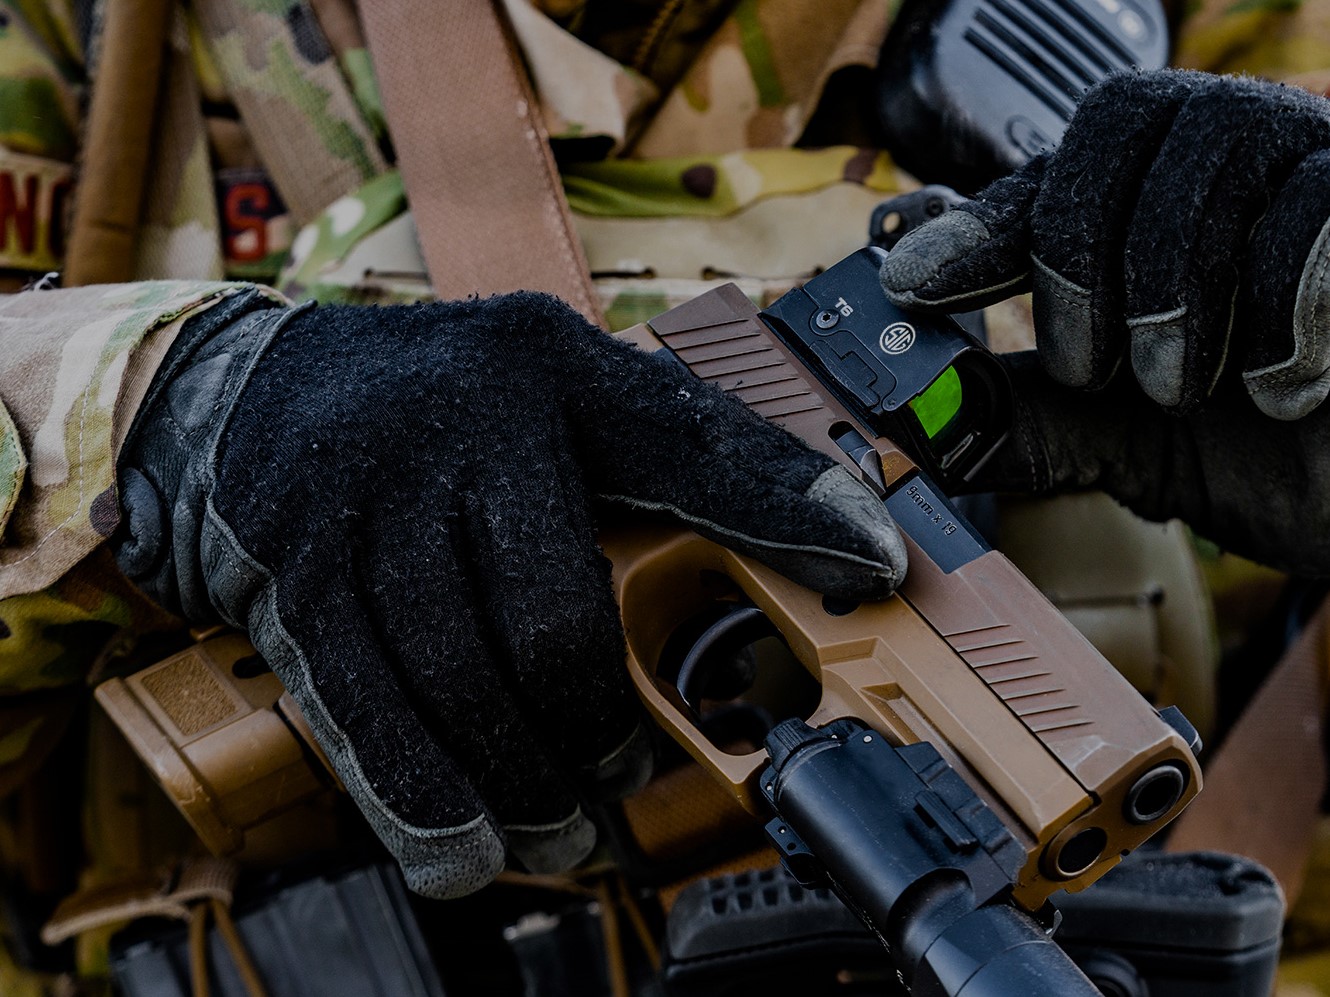
Pistol optics have come a long way. Today’s pistol optics rarely fail electronically or mechanically. When issues do arise, they’re most commonly related to the mounting of the optic to the gun. The differences in optic footprints have required many end users to depend on adapter plates to mount the optic on the gun. All types of plates have failed on the range, in training, and in on the street. And mounting issues have not just been limited to optics with adapter plates. They are all easily preventable issues.
The instructors at the Los Angeles County Sheriff’s Department’s Weapons Training Unit have developed a mounting procedure that they follow to prevent mounting-related issues with pistol optics. They have shared the information to help others. The LASD mounting procedure works with all pistol optics. It works with optics that are attached using an adapter plate and with optics that are bolted directly into the slide without a plate. It’s easy for anyone to do. More importantly, it works. This article will show you how to do it, step by step.
How to Do It
The very first thing that you need to do is to check with the manufacturer to see if your particular model of optic needs any special mounting requirement.
Gather everything you need together and make certain that you have everything that you need to mount the optic. First, gather everything together and ensure you have all that is needed to mount the optic. This includes both sets of screws, mounting and sealing plates, degreaser, threadlocker, and torque wrenches.
Before proceeding any further, check the optic itself. Power it up to see that it works as it is supposed to. Although very uncommon, optics can come defective from the manufacturer. Some pistol optics have the battery underneath optic and for this reason should have a new battery installed before mounting the optic. Even if the battery is installed on the top or side, now is a good time to replace the battery,

Next, put everything together and test fit it on the gun without using the thread locker or torque wrenches. Ensure that everything fits where it is supposed to, this includes the screws. Address every interface point before proceeding any further.
Once this has been done, prep everything by degreasing all interacting surfaces. This means the cut out in the slide; the threaded holes in the slide; the plate (if applicable) and any threaded holes in it; and the mounting screws. You can use acetone, gun scrubber, other degreasing products, or isopropyl alcohol wipes. I generally use the alcohol wipes. Allow everything to dry after degeasing.
After everything has dried, apply the threadlocker. LOCTITE® 248 is recommended. LOCTITE 248 is a blue, medium strength threadlocking adhesive that comes in a non-drip, easy-to-apply “glue stick” form that goes where you need it. It is suitable for all metal threaded assemblies.
The best practice is to apply the threadlocker with your finger as you turn the screw. You want to have enough threadlocker on the threads for the part of the screw that is in the hole, without having excess outside of the hole.
The next step is to tighten each side until you feel a bit of resistance. Then alternate tightening until you reach the torque specification that you need. For consistency alternate between each screw torquing each one then the other, repeating twice. Best practice seems to be to start at about 75% to 80% of whatever the specification is and then increase the torque on the wrench to get to the specified amount.
After everything is torqued to the specification mark all of the screws with witness marks using an oil-based paint pen or bright fingernail polish. Mark a clean line from the center of the screw head onto the adjacent surface. Allow some of the paint or polish to run into the space between them. This mark lets you know visually if any screws have come loose. It doesn’t prevent movement. You should always check the mounting screws from time to time during normal routine maintenance. If anything loosens up, replace those screws and repeat the process.
The final step is to let everything cure for at least 24 hours before zeroing the optic. This is absolutely crucial. Do not rush the process. A full 24 hours of curing is absolutely essential.
Final Thoughts.
When it comes to potentially lifesaving equipment, no single point of failure is acceptable. Following the steps in the LASD procedure when mounting optics on your pistol will help you avoid mounting-related issues. It’s without a doubt the best method to date. All reports from agencies employing it have been very positive.
Photos courtesy SIG SAUER.