
A stitch in time saves nine.
Anyone who has spent enough time using their equipment has experience knowing it can fail on you the moment you need it most.
Check your stuff
Check your equipment from time to time, even the new stuff, for any issues and repair it immediately. When it comes to items that can fray, tear, or unravel it’s best to keep a sewing/repair kit on hand. Doing your preemptive checklist to see if anything needs to be fixed is not going to be helpful during a disaster.
Over the years I’ve purchased a couple of different sewing kits because none ever had exactly what I needed. It’s easy to cobble together a few of the key elements.
Learn to Sew
For an older generation that served in the military or had a civilian job that required wearing a uniform, you might recall shining your own boots, or maintaining the quality of your dress uniform. Remember repairing old leather or sewing buttons and hemming skirts or trousers? In an era of convenience many service members use the dry cleaners or cobbler and this is fine. They do excellent work. If you have a moment, choose to learn something new. The statement, “I don’t have the time” doesn’t cut it in a disaster situation.
For those who desire survival knowledge, know that, basic sewing and repair isn’t difficult to learn. My father was capable in many things and I learned much just watching him; Soldering, Auto-Repair, Electrical work, etc. Basic sewing skills can be used in suturing and may save you further discomfort and pain come a full-blown disaster scenario. Anyone worth his/her salt about the outdoors should know these basic skills. My recommendation is listed below.
Make a Kit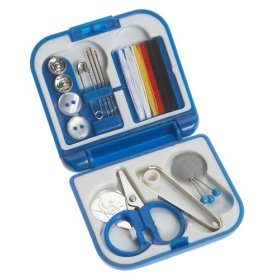
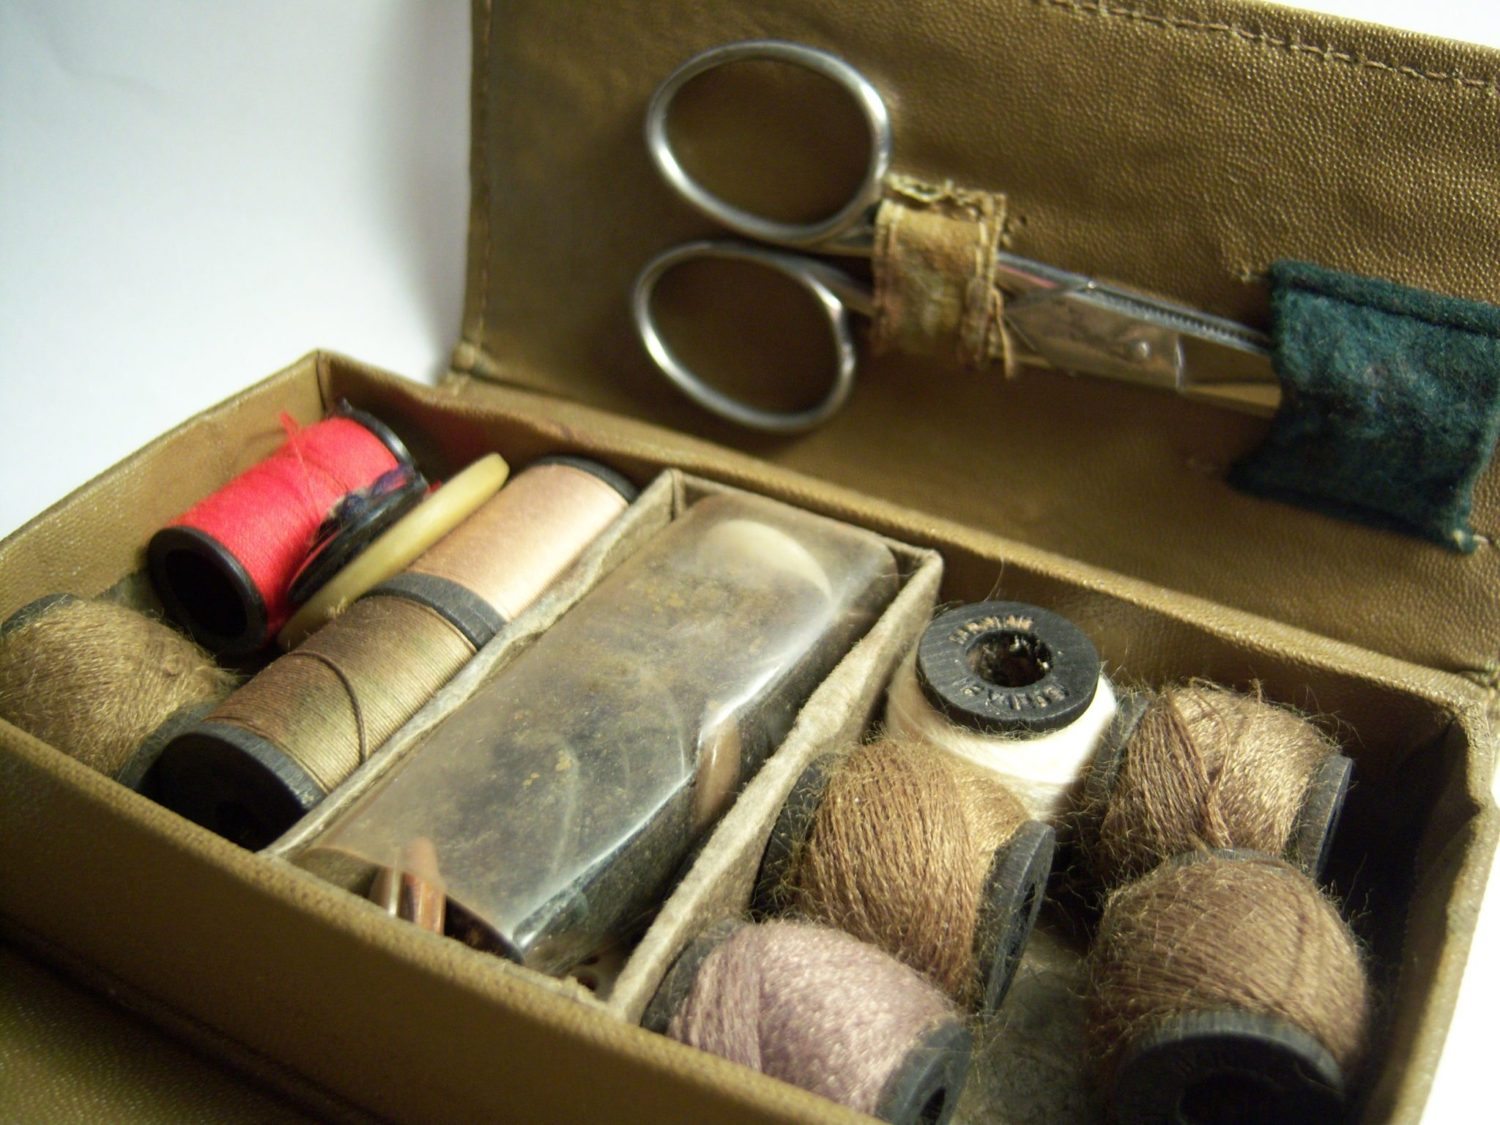
The basic military sewing kits available for $5.00 simply do not have enough in them to be useful for medium to long duration travel. I prefer a larger kit for my Bug-Out-Bag. Not only that, but most commercial kits are not water-proof or water-resistant, and therefore your adhesives and threads once exposed to the elements become useless.
Kits not meant for the outdoors are generally very porous and made of non-weather resistant vinyl, fabric, leather or plastic and can get wet, crack or tear.
There’s definitely good, working sewing and repair kits available online. But I think you’re better off piecing together your own. In fact, take a look in your junk drawers, you might already have many of the key components.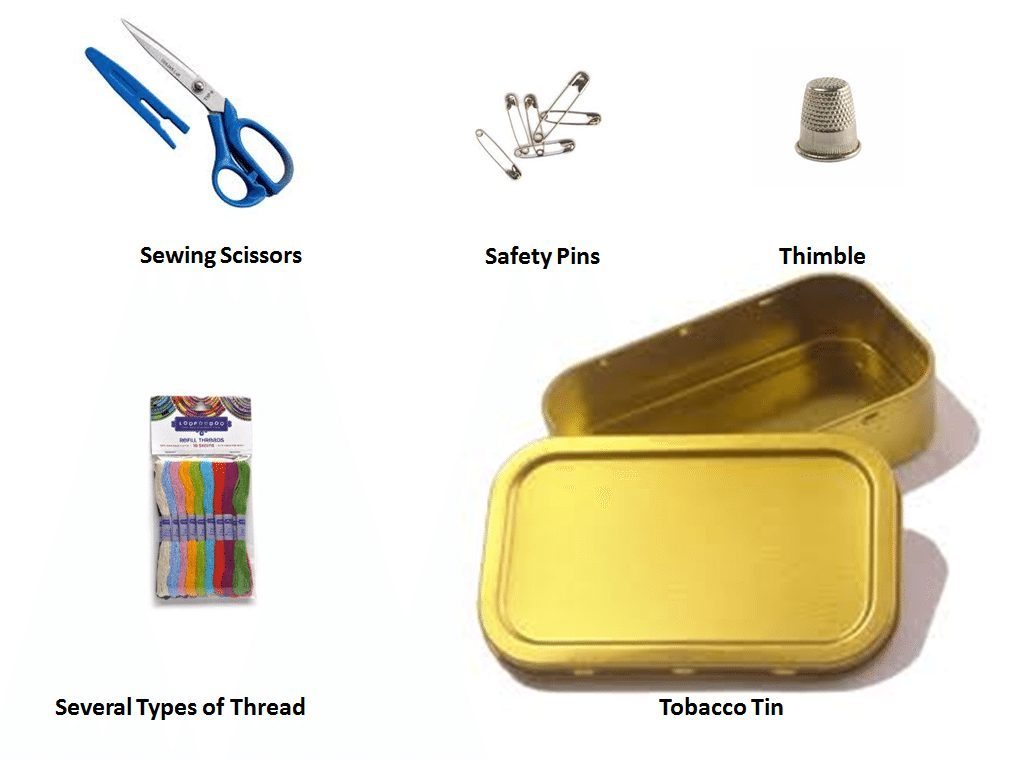
Sewing Scissors: Cutting fabric and leather is easier to do with light trimming scissors than a knife. Don’t use this knife for anything else. If you’re tight on space, then use a sharp razor blade, as it is easy to manipulate.
Safety Pins: Various uses for this.
Thimble: A sturdy thimble is good for pushing needles through tough material. Find one that fits the middle finger of your hand.
Thread: Look at purchasing mercerized cotton thread. This is a process that strengthens your thread. Also look at getting different thicknesses of linen thread for sewing canvas or leather. Black and white colored thread is easiest to see.
Tobacco Tin: I’ve seen kit boxes made of fabric, vinyl, leather or plastic but these can get wet, crack or tear. They might have a zipper, flap or snap lid that doesn’t shut tightly. Look at getting a large tin, or (2) tobacco tins. They have tight-fitting lids and will keep out water and protect your sewing items better. Altoids also makes a good usable tin.
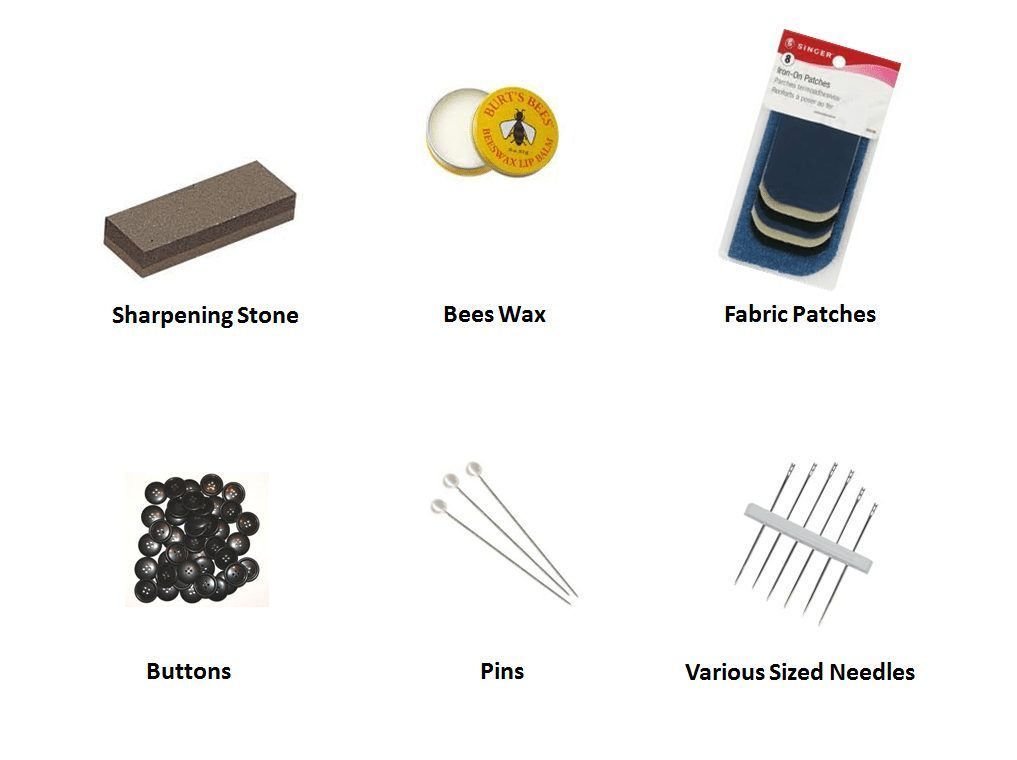
Sharpening Stone: You might have a sharpening stone on hand for your knife and it’s good for keeping your needles sharp.
Beeswax: Your thread can be strengthened and water-proofed by rubbing it through wax. In order to condition your thread, just run it through a bit of beeswax a few times, and this makes it less vulnerable to abrasion.
Patches: Carry various types of patches according to your needs. Most tent and raft manufacturers include a repair kit (glue and patch) with their product but it’s wise to carry at least one patch on hand. Fabric and Rubber patches take up little space. If you are traveling short distances and taking breaks, you might be able to spot patch material near populated areas; many times a few pieces of fabric from rags, old shirts, or jeans can be salvaged from trash cans or empty buildings.
Buttons: About 6 buttons are good to have in your kit. For piece of mind, throw in a zipper, grommet, snaps, hooks & eyes.
Pins: Try to get pins with large glass or plastic heads. These are the easiest to use when you’re stitching and trying to hold the fabric together. Select up to 1 1/2″.
Needles: Needles are cheap and small. A package of assorted sharps, medium-length needles with round eyes, are suitable for all fabric weights. Purchase some double-eyed needles as they are able to carry two strands of thread while minimizing fabric friction, Glover leather needles and a suture needle.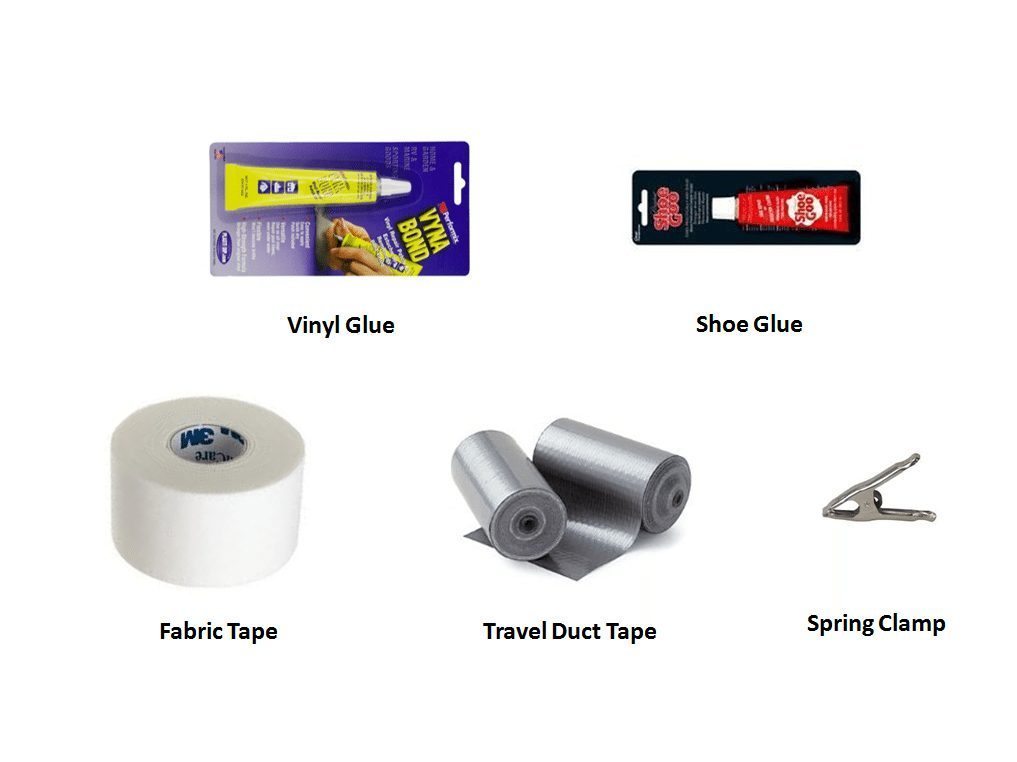
If you have enough room in your kit, add a few of these items into it:
Vinyl Glue or Shoe Glue: A small tube of glue is helpful for all kinds of repairs. You want cement that holds equipment together without stitching. A patch with glue over a shoe or raft is a good, short-term fix.
Fabric Tape: Fabric Tape is strong and flexible tape that is good for fast mending jobs without sewing. It’s fusible and can be used to hem pants or join fabrics. A short-term fix and easy to use. Place your fabric down and insert the fabric tape where needed, place a towel or cloth over your fabric, and use a hot kettle or cooking pot to press the heat down to fuse it.
Travel Duct Tape: Little tape rolls are available for your kit.
Spring Clamp: Pins will hold your fabric together while you’re stitching. Working on a thick seam may require a spring clamp.
Waterproof Pelican Case:If you have money to spare take a look at getting a water-proof Pelican Case. Pelican cases are nearly unbreakable, come with a lanyard for attaching it to your backpack and come in various sizes. If you want to protect your needles and razors from getting rusty and your thread from getting useless, try one of these.
Awl: If you need to sew leather, repair a canvas tent that’s missing a grommet or punch a new hole in a belt, an awl will help you do this by not tearing the material.
Kevlar Thread: This abrasion resistant thread is good for many things, such as making snares, trip wires, on clothing, tents and all around repairs.
Razor Blades: If you lose your knife you still have a sharp instrument with a razor blade.
Mini Zip Tips: Many uses for this item.
Again, carry the weight you are able and carry what you need. You might want to wrap a cloth around the items or pad it with cotton balls to muffle the sound when walking and prevent the items from moving about. At a minimum, a needle and thread, button and adhesive patch should be in your kit.
If you want to develop your kit into a survival kit you can include some of these items:
- Penknife.
- Fishing Line
- Aspirin
- Band Aids
- Whistle
- Candle
- Purifying Tablets
- Snare Wire
- Two Small Fishing Lures
- Fish hooks of various sizes
- Fishing Line
- Waterproof Matches
- Compass
- 550 Cord

Try to pick your items carefully as they should all fit into your kit. If you need, put it into two containers and carry each in a cargo pocket. Try to keep your kit dry and seal it with duct tape if you want added protection. Selecting your own items means great quality control. You get to decided what to put in your kit.