
Core FXQ50 Thermal Imaging Attachment
Pulsar
Review by Fred Fusco

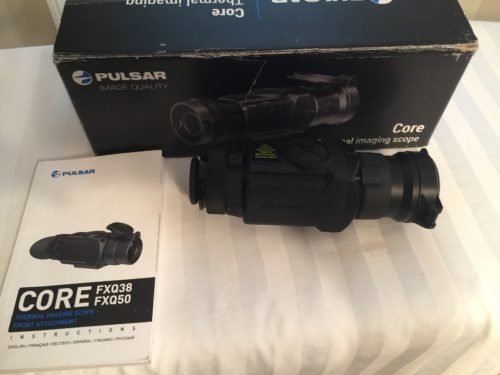
This is the gear review for Core FXQ50 Thermal Imaging Attachment manufactured by Pulsar. I will discuss the optic in four categories…Cost, Durability, Size, and Function. The Core Thermal unit comes with the following accessories… attachment’s eyepiece, carrying case, hand strap, external power adapter, USB cable, wireless remote control, user manual, cleaning cloth, and warranty card. In order to use this unit as a clip-on attachment to a daytime rifle-scope, you must purchase the appropriate sized cover ring adapter which retails at around $150. I have included the specifications at the end of this article.

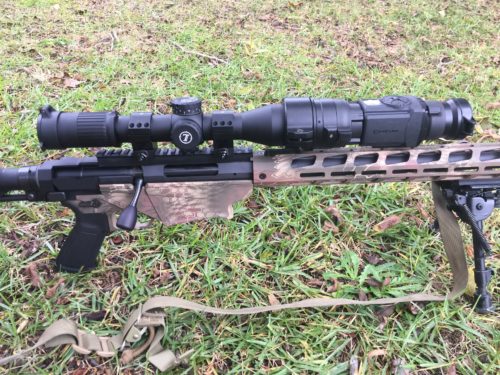
The Core FXQ50 Thermal Imaging Attachment has a retail price of $4499.99. The price is about midrange for thermal optics available in the civilian market. There are different types of thermal imaging devices. Thermal monocular, thermal scopes, and thermal clip-on attachments. This device is a hybrid version of all three. It can be mounted as a clip-on attachment to add a thermal capability to any daytime rifle-scope. It can also be used as a thermal monocular when the included eye piece is attached. Most buyers of this type of optic are people who hunt wild hogs at night. The use of a thermal imaging device adds a huge advantage to hunters as it eliminates the animal’s ability to conceal themselves in natural vegetation.
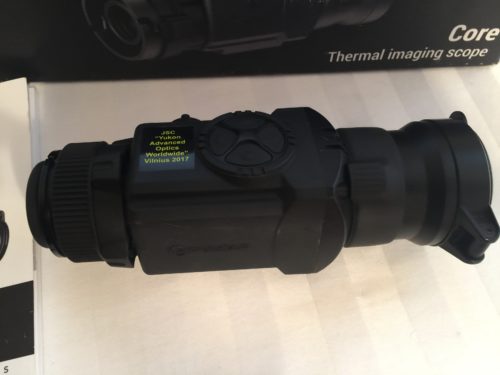
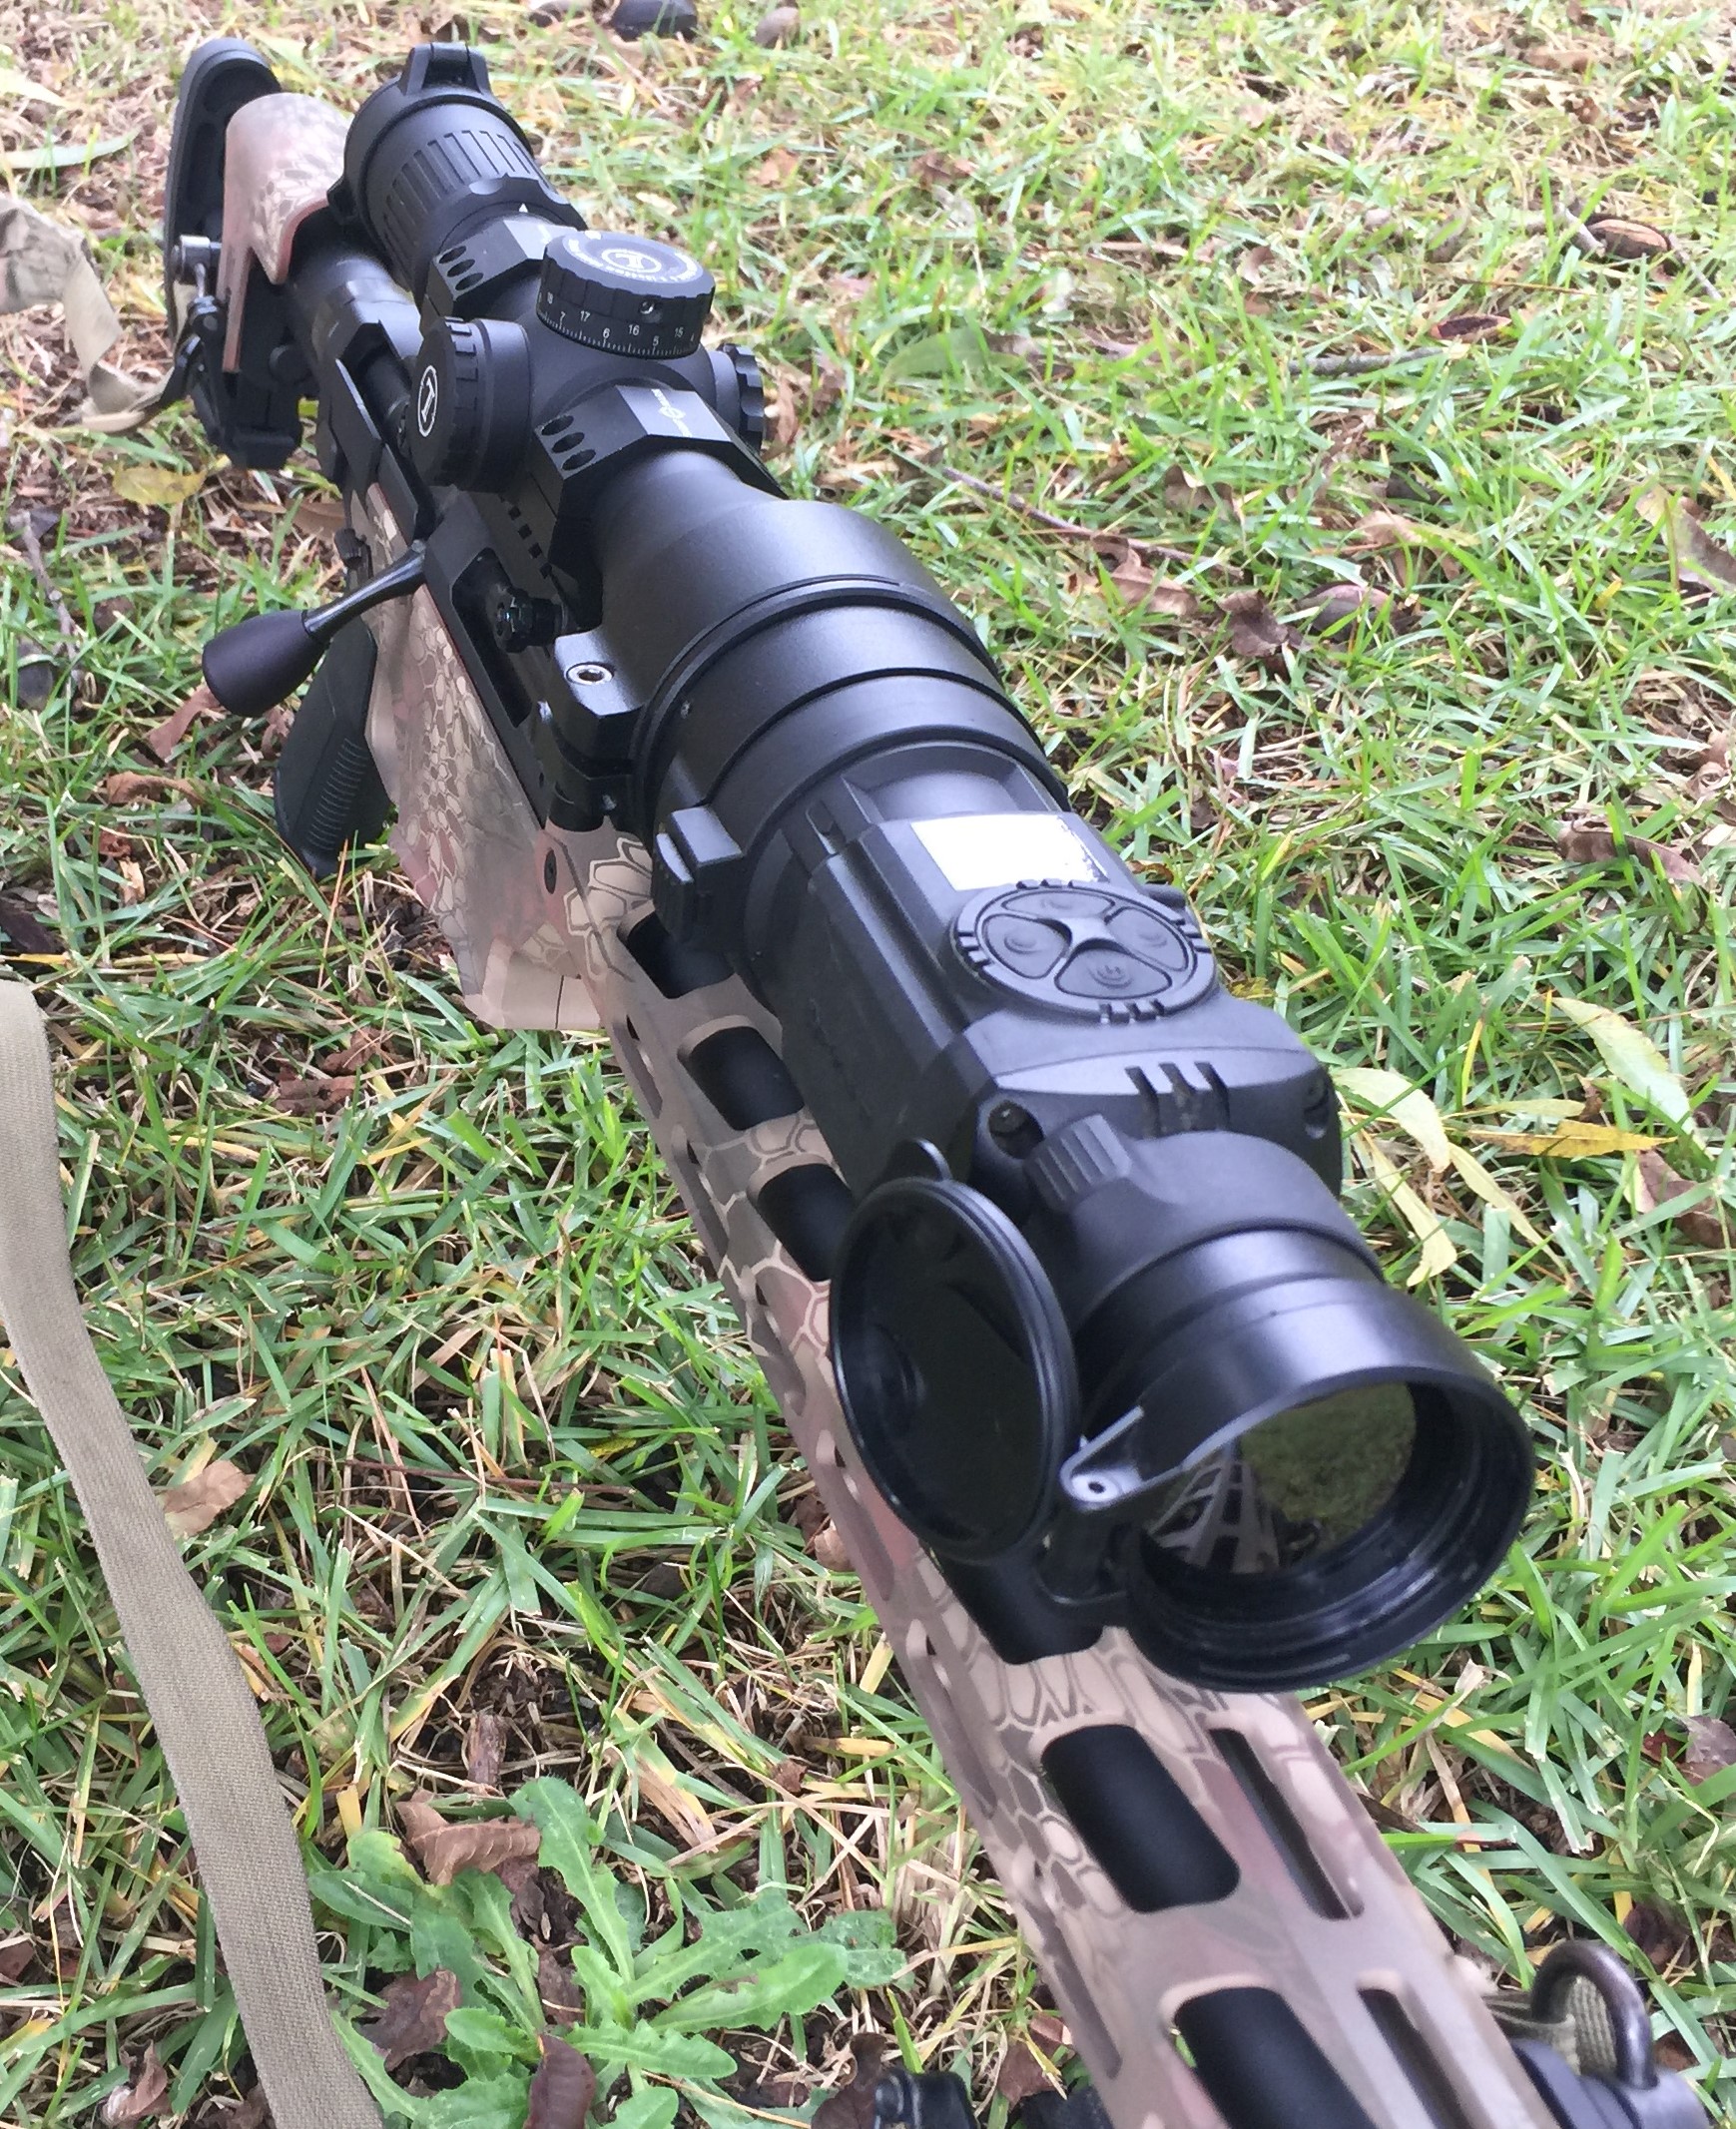
The overall durability and ruggedness of construction is very excellent. The unit is IPX7 rated which means it is waterproof and submersible up to 1 meter. It has flip up protective lens cap on the front glass. It also comes with a rubber eyepiece with shade to help protect the eyepiece when being used in monocular mode. When mounted on the rifle in front of a rifle-scope, the rear glass is protected by the attachment that connects it to the scope. It did get knocked around quite a bit on my gun and I had no issues with it. This optic is well built.
The size and weight of the Core FXQ50 is very light and compact. When mounted on a rifle it is hardly noticeable. It weighs 14 ounces without batteries. It is 7.4 inches long and a little over 2 inches wide and high. When mounted in front of a scope, it looks as if the scope is a bit longer and overall appears streamlined. This optic adds very little in the way of weight and size in return for having a huge advantage of thermal imaging.
The Pulsar Core FXQ50 is powered by two CR-123A batteries. The battery life is short, approximately 4 hours. So, I did have to change batteries periodically during my testing and evaluation of this optic. I did run it constantly while doing my review. That was to be expected while running a true thermal device. It does come with an external power supply attachment that can run of a USB connected power source (5V) or an EPS3I or EPS5 Battery Pack (output voltage 12V) which are not included.
The top of the unit has 4 function/power buttons that are arranged like the 4 cardinal directions on a compass. There is also a focus ring near the front to adjust focus depending on your distance to the object. When using the device in monocular mode there is a diopter adjustment ring on the eyepiece to focus in handheld mode.

It also has a remote switch which is handy mounted on a rifle for ease of use while in a stable shooting position. The wireless remote-control duplicates activation of unit, color inversion and image calibration. It has three buttons to access these functions.
When putting the unit into operation, you open the main menu. From there you have a list of options. Operating mode, calibration mode, brightness setting of menu icons, clock setup, remote control activation, and defective pixel repair. The first choice should be calibration mode. The thermal unit works best after it’s been calibrated. I used automatic calibration, so it does it automatically every so often. The choices are manual, semi-automatic and automatic options.
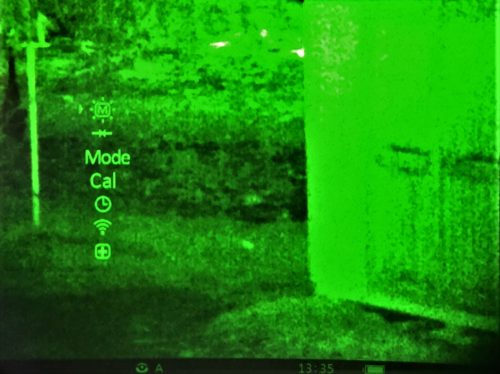
Menu Display
The unit features three automatic operating modes: “Rocks” (enhanced contrast), “Forest” (low contrast) and “Identification” (improved detail rendering). Each mode includes optimal combination of parameters (brightness, contrast, gain etc.) to deliver best possible image in specific viewing conditions. I tried them all but didn’t really get to see the most optimized setting due to my limited time with the unit. If I were to run this optic again, I would like more time to use it in different terrain, climates, and environments.

Depending on the environment in which your using this optic, you will need to adjust some of the settings to get the best view. Adjusting the contrast, brightness, operating mode, and color inversion will optimize the equipment and it does require some time to play with the settings and figure out how best to use them. Again, if given more time, I would be more proficient with the function and all capabilities of this equipment.
On the main viewing screen at the bottom is a status bar. The status bar shows information as follows: operating modes, calibration mode, digital zoom X 2 activated, color inversion activated, clock setup, and battery status. This gives you some situational awareness as to what settings you are currently using.

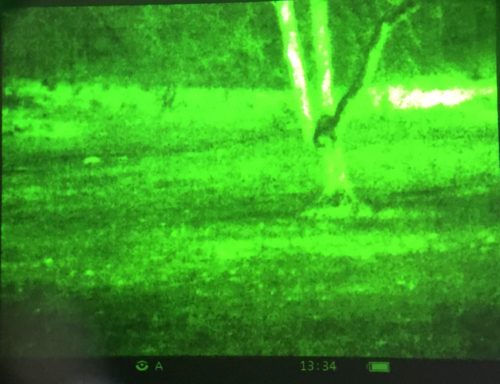
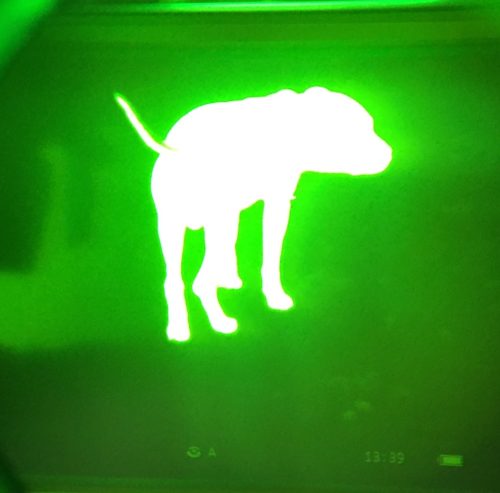
As for the overall function and my opinion of it, I have some mixed feelings. Again, this unit was designed for the hunter in mind and it’s use as far as that is concerned is pretty cut and dry. I didn’t take this optic hunting. I did however get to view some animals through it. I did most of my shooting with this unit on some thermal targets. I did run into a rather funny situation on the range. As I was trying to find my target at around 750 yards, my spotter asks me if I can see the huge deer next to the target. As I acquired the target and looked next to it, I saw a large deer’s thermal signature standing directly next to my target. I thought this was funny because I saw the deer right as my spotter asked me if I seen it. The timing was impeccable. So, I waited as the deer moved on to the nearby wood line with what was the rest of the heard.
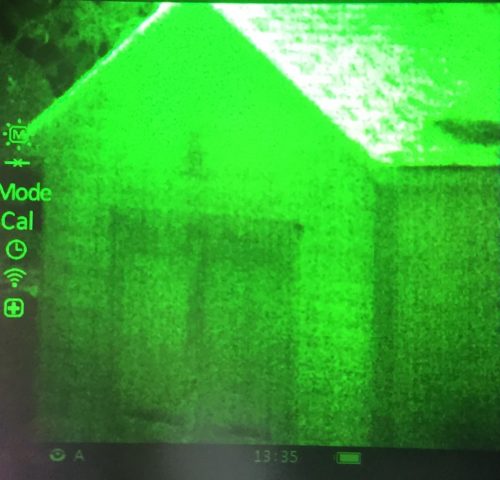
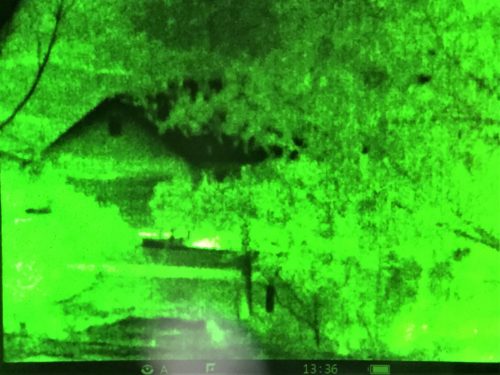
Seeing the thermal targets wasn’t an issue with the Core FXQ50. I was able to engage targets out to 1200 yards without any issues. I was using smaller thermal markers on them so the ones out past 900 yards were a little tricky to pick up. If it was a larger signature like an animal, there would have been no issues. I mentioned that I had mixed feelings about this. For me, the ability to focus was not entirely satisfactory. I could never get the fine focus just right. This was both on animals, thermal targets, and other objects such as buildings. Also, the unit uses a green AMOLED display. I am not a huge fan of “green screens”. Ever since my days of using green phosphorus night vision goggles (a completely different animal), I feel that there are better options out there especially with the technology that exists. I’m a little partial to some of the thermal devices I used during my time in Army Special Operations. Be that as it may, I understand the cost of manufacturing equipment like that and the price difference that results. Call it me being a little picky I suppose. Like I said, for the average hunter, this would be an exceptional piece of gear.
Another area I would like to see improved, is the remote switch. It can only control 3 functions. I sometimes found myself having to scroll through the menu and settings while behind the gun which can be extremely difficult unless you have super long arms. Especially when certain selections on the menu go away do to time limits before you select. That was a bit frustrating. I found I wasn’t fast enough selecting and having to restart the menu selection. Those are the trials and tribulations of not truly knowing the equipment as well as I would have liked.
The last improvement that could be made is the menu display when the optic is mounted on a rifle. Due to some magnification from the rifle-scope, I couldn’t read the entire list of choices on the menu. This isn’t a problem when in monocular mode. This added to the difficulty of changing setting when behind the gun. I would have to detach it from my scope, connect the monocular eyepieces, then change the settings. Then remount the thermal on my rifle-scope. It would be much easier on the user to be able to adjust the settings on the fly, or behind the gun as it were.
In closing, my overall impression of the Pulsar Core FXQ50 is very positive. It is a sleek, well built design that brings an amazing capability to the civilian hunter or shooting enthusiast. Although the cost is a bit on the higher end, it brings an advantage to the hunter that ensures great success when put into action. With good practice and a thorough familiarization with the optic and all of it’s capabilities, you could do much worse with some other brands out there.
Specifications
Type of Microbolometer Uncooled
Frame Rate, Hz 50
Microbolometer resolution, pixels 384×288
Spectral Sensitivity, µm 7.5 / 13.5
Pixel Pitch, µm 17
Display type AMOLED
Display Resolution, pix. 640×480
Operation modes 3
Optical characteristics
Magnification, х 4.1
Digital zoom, x 2
Horizontal Field of view, m @100m 13.1
Exit pupil, mm 5
Eye Relief, mm 16
Diopter adjustment, dptr. ± 5
Optical characteristics
Close-up distance, m 5
Range of Detection, m
Max. observation range of an animal 1.7 m high, m 1800
Power Supply
Power Supply, V 5 ÷ 7.2
Battery type 2xCR123A
Battery Life, hour 4
Using on weapon
Shock-proofness, E0, joules (when used with rifled gun) 6000
Mounting brackets on weapon adapter 40, 42, 50, 56 mm or quick release Weaver
Physical & operational characteristics
Remote control wireless
Operating Temperature,°С – 25 … +50
Level of Protection (acc. to IEC 60529) IPX7/IPX5 (monocular mode)
Waterproofness yes
Dimensions, mm 190x65x60
Weight (without batteries), kg 0.4
Material Disclosure
I received this product as a courtesy from the manufacturer via Spotter Up so I could test it and give my honest feedback. I am not bound by any written, verbal, or implied contract to give this product a good review. All opinions are my own and are based off my personal experience with the product.
*The views and opinions expressed on this website are solely those of the original authors and contributors. These views and opinions do not necessarily represent those of Spotter Up Magazine, the administrative staff, and/or any/all contributors to this site.
