Part 9: Backyard Bladesmithing: Cleaning Up

A lot of work has occurred up until this point; now the magic happens. You will harden and temper your blade to give it its strength and edge-holding capability. Time to fire up the forge again. At this point you will need a metal bucket or stockpot; something to hold about a gallon of vegetable oil.
This will be your quenchant. Do not use water. Straight water is too harsh of a quenchant, will cool the steel too fast and can cause breakage. Once a good base of hot coals are established, place your blade into the fire and cover with fuel. Slowly bring your blade up to a bright red color.
Begin testing the blade with a magnet. You will soon notice that at a certain temperature/color the magnet will no longer be attracted to the steel. This is known as the critical temperature. Once you have reached this temperature, observe the color and do your best to maintain the steel around that temperature for about two to three minutes. Now it’s time for the quench – and some quick action (it may be a good idea to practice this a few times considering the importance of this step).
Remove from the fire and QUICKLY plunge the blade straight down into the oil. It may flame up so be careful. Once the “sizzling” and bubbling stops remove from the oil and check for warpage in the blade. For about a minute or two you can straighten out any warpage in the blade using pliers and/or a vice.
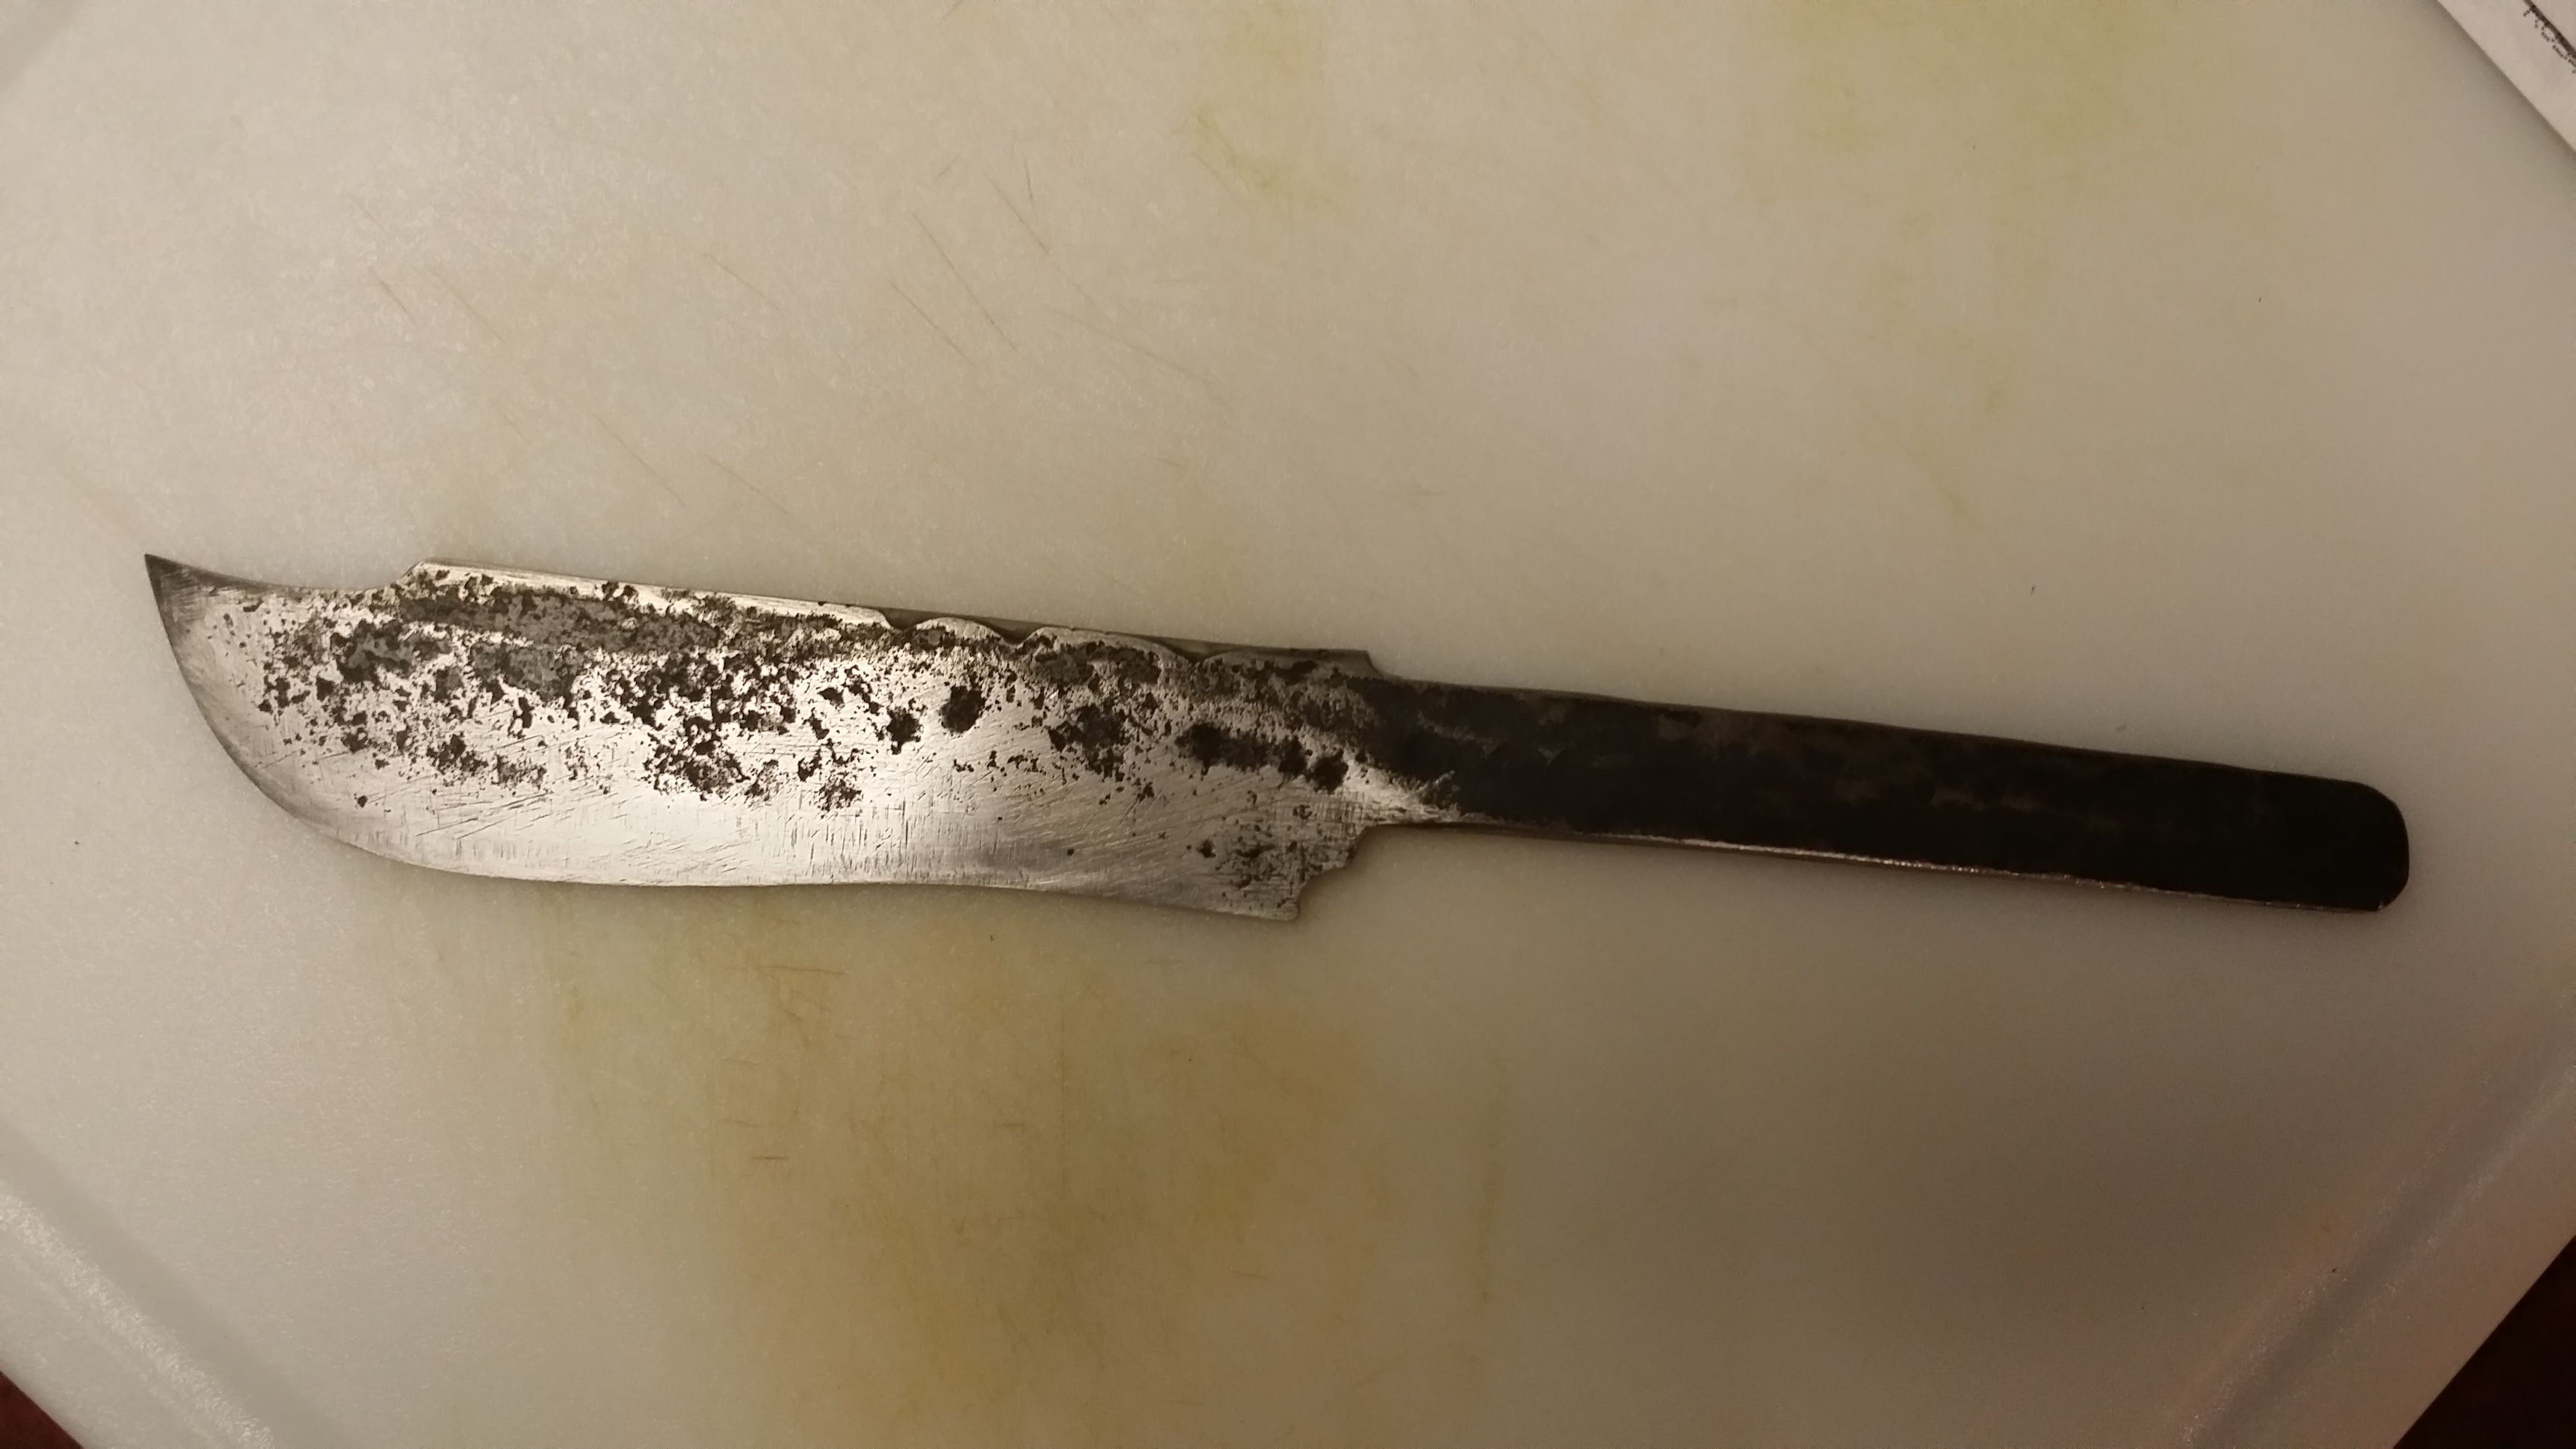
Once the blade has completely cooled it will be very hard but will also be very brittle. You can check this hardness by taking an old file and scraping it across the edge of the blade. If it skates off the edge easily without biting into the steel then it has been hardened properly.
Now you will need to temper the steel in order to draw out the brittleness but still “leave in” the strength. The easiest way to perform this is with an old toaster oven. You could do this in your kitchen oven as well. Preheat your oven to 350 degrees (you can have this step done before you perform the quench).
Place your blade into the oven and let is sit in there for an hour. After an hour, remove the blade and let it cool to room temperature. Repeat this step two more times. After the third time you will notice a gold color in the steel. This is what you want.

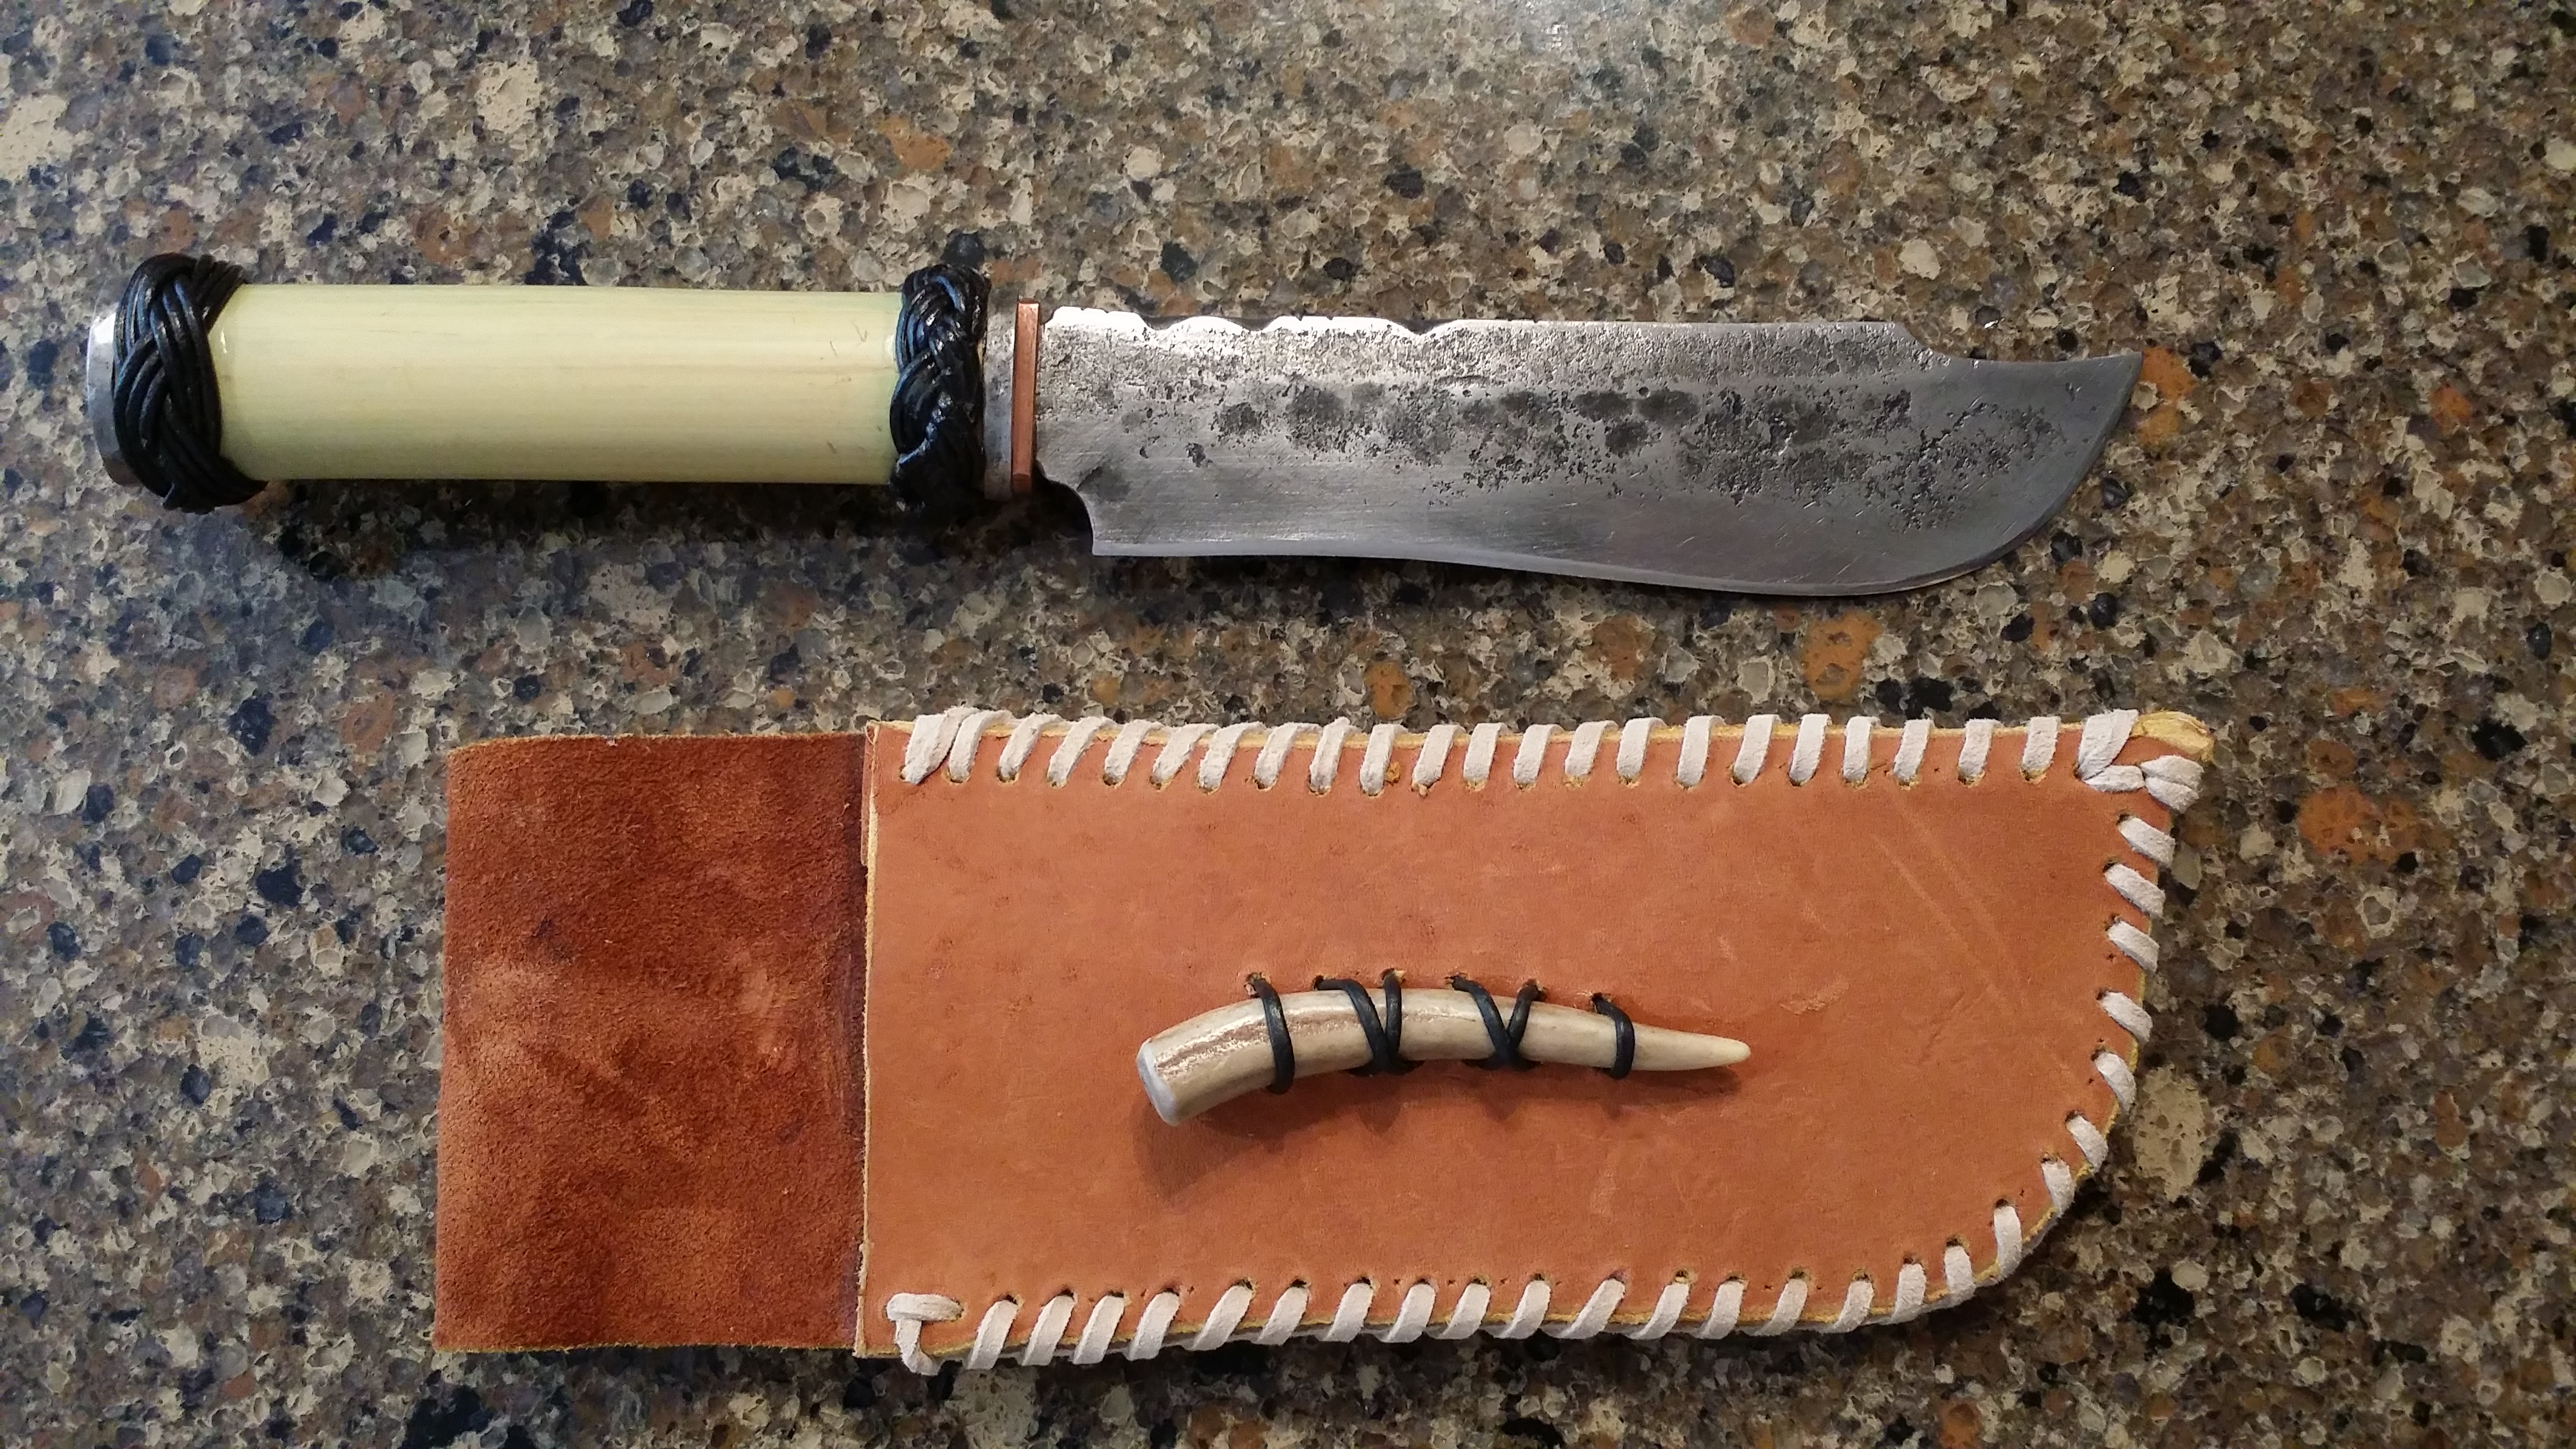
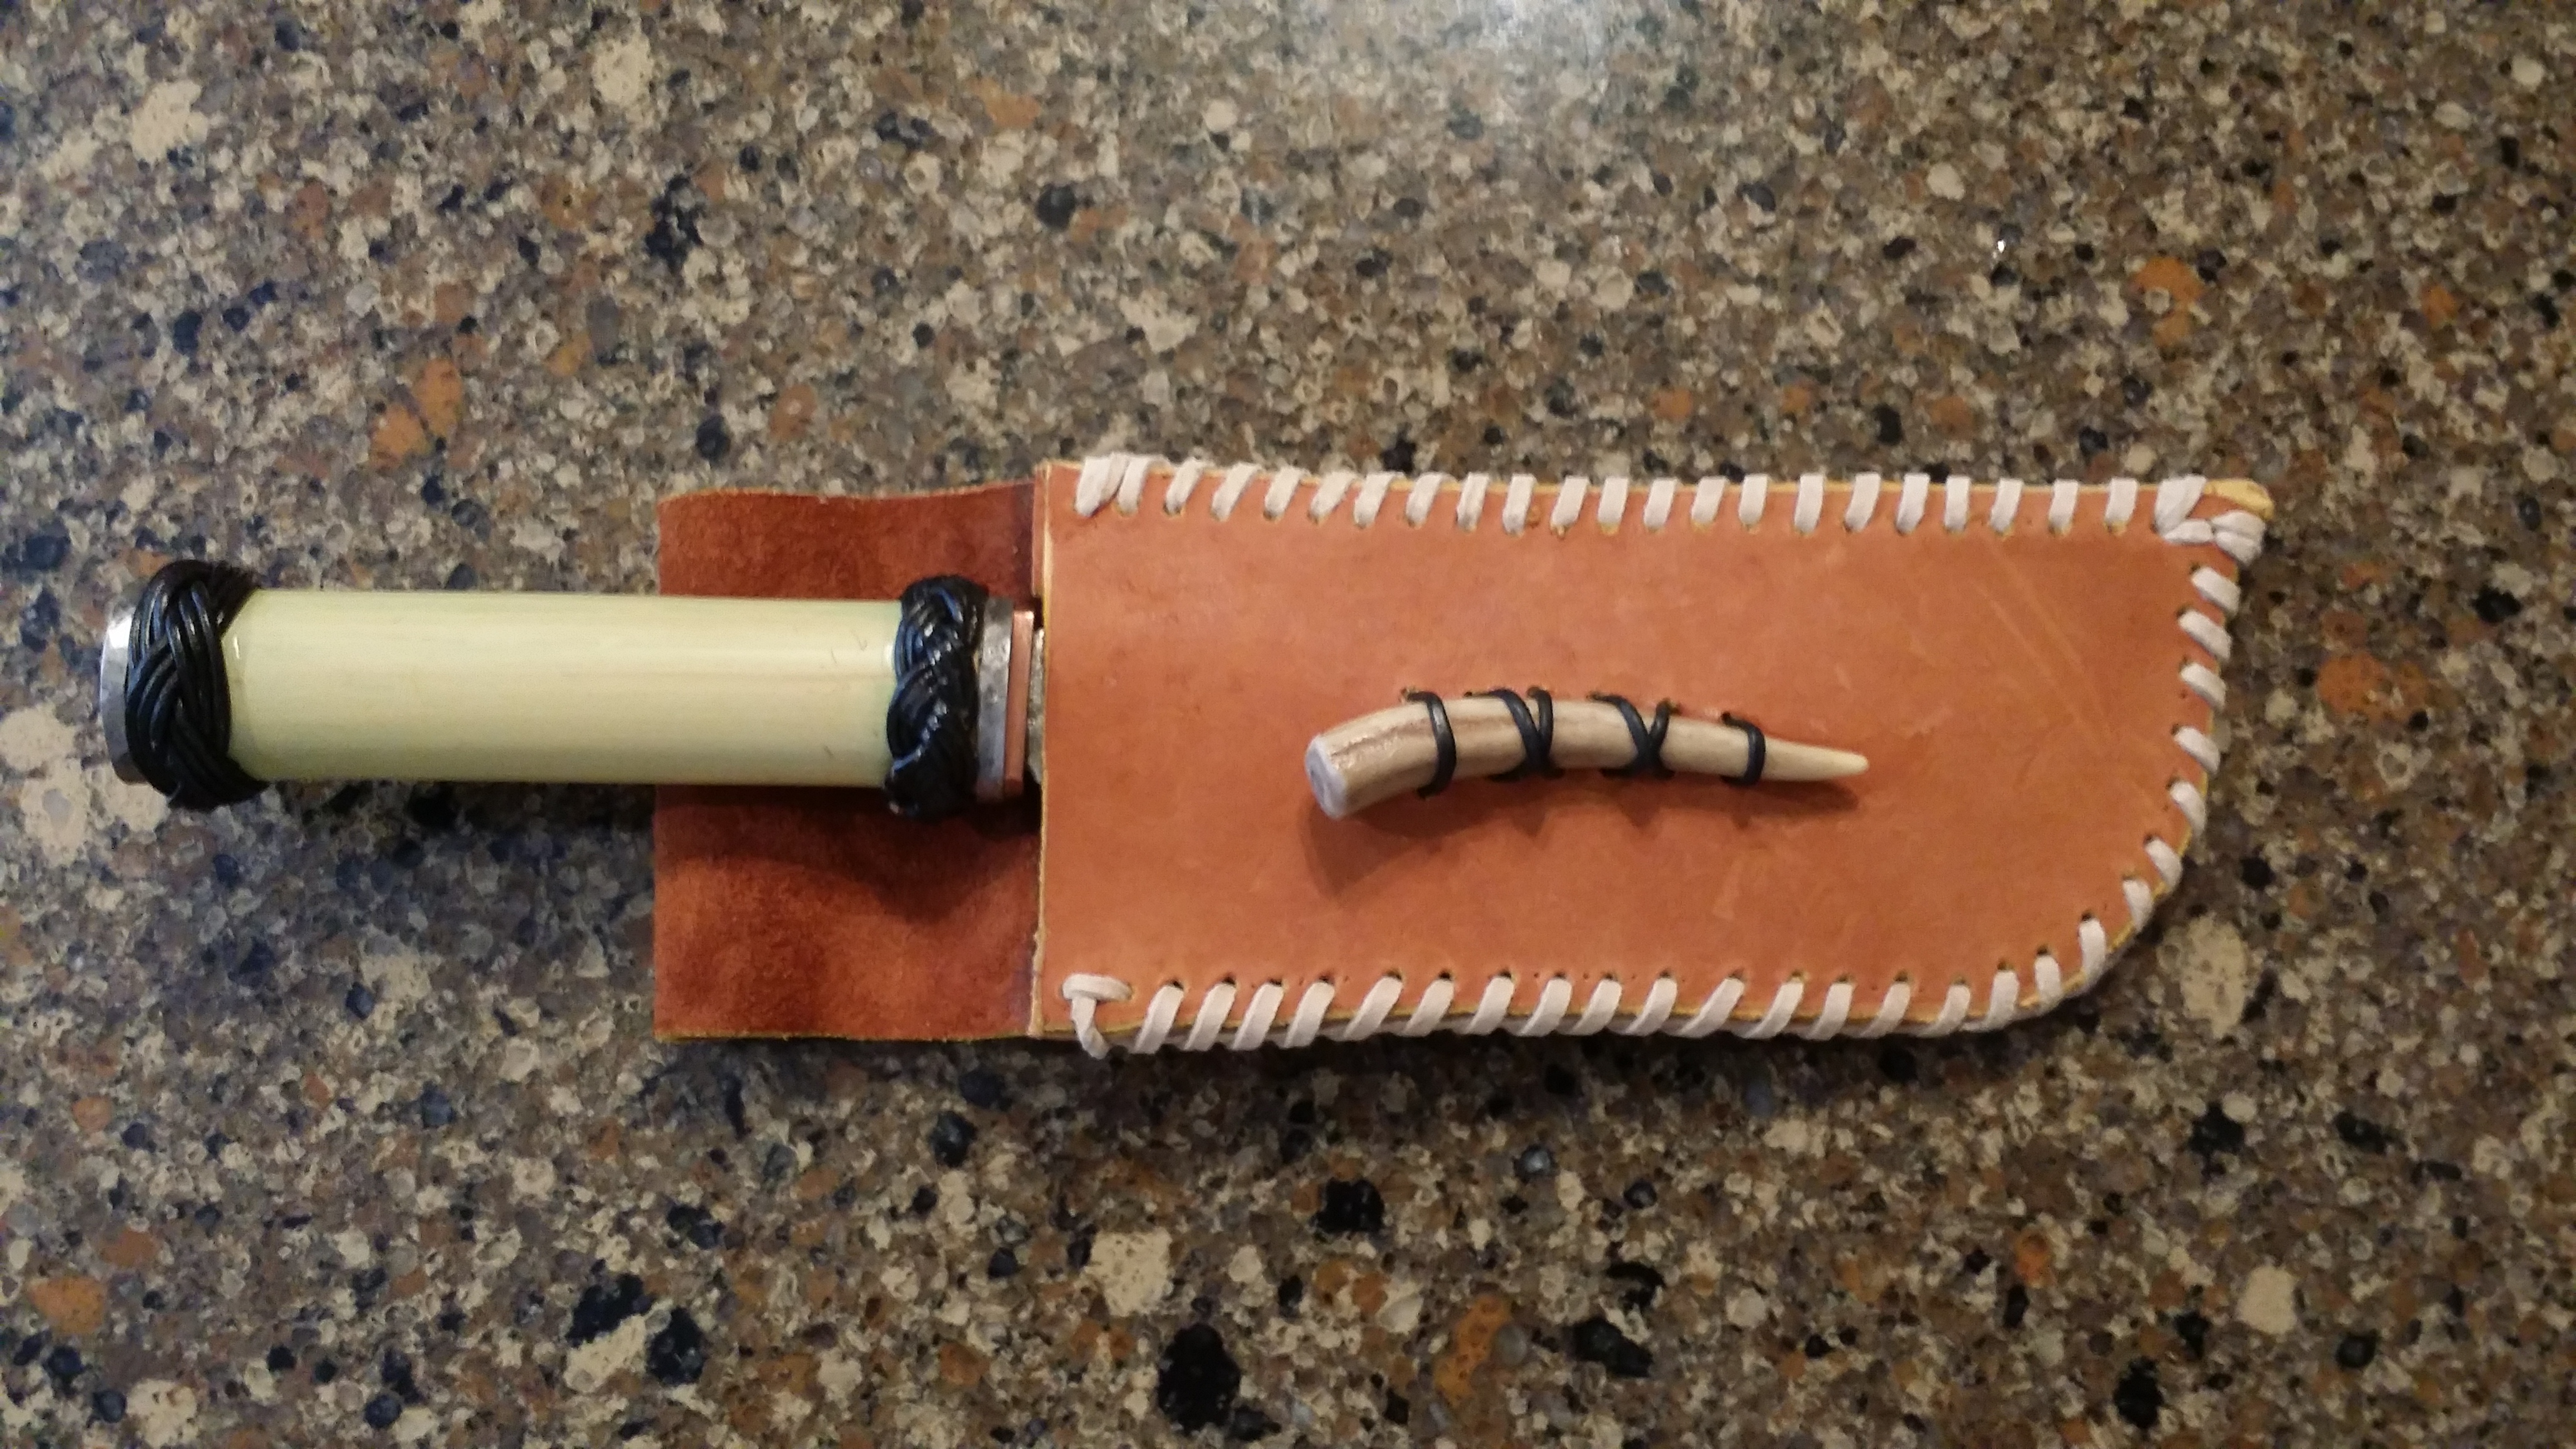
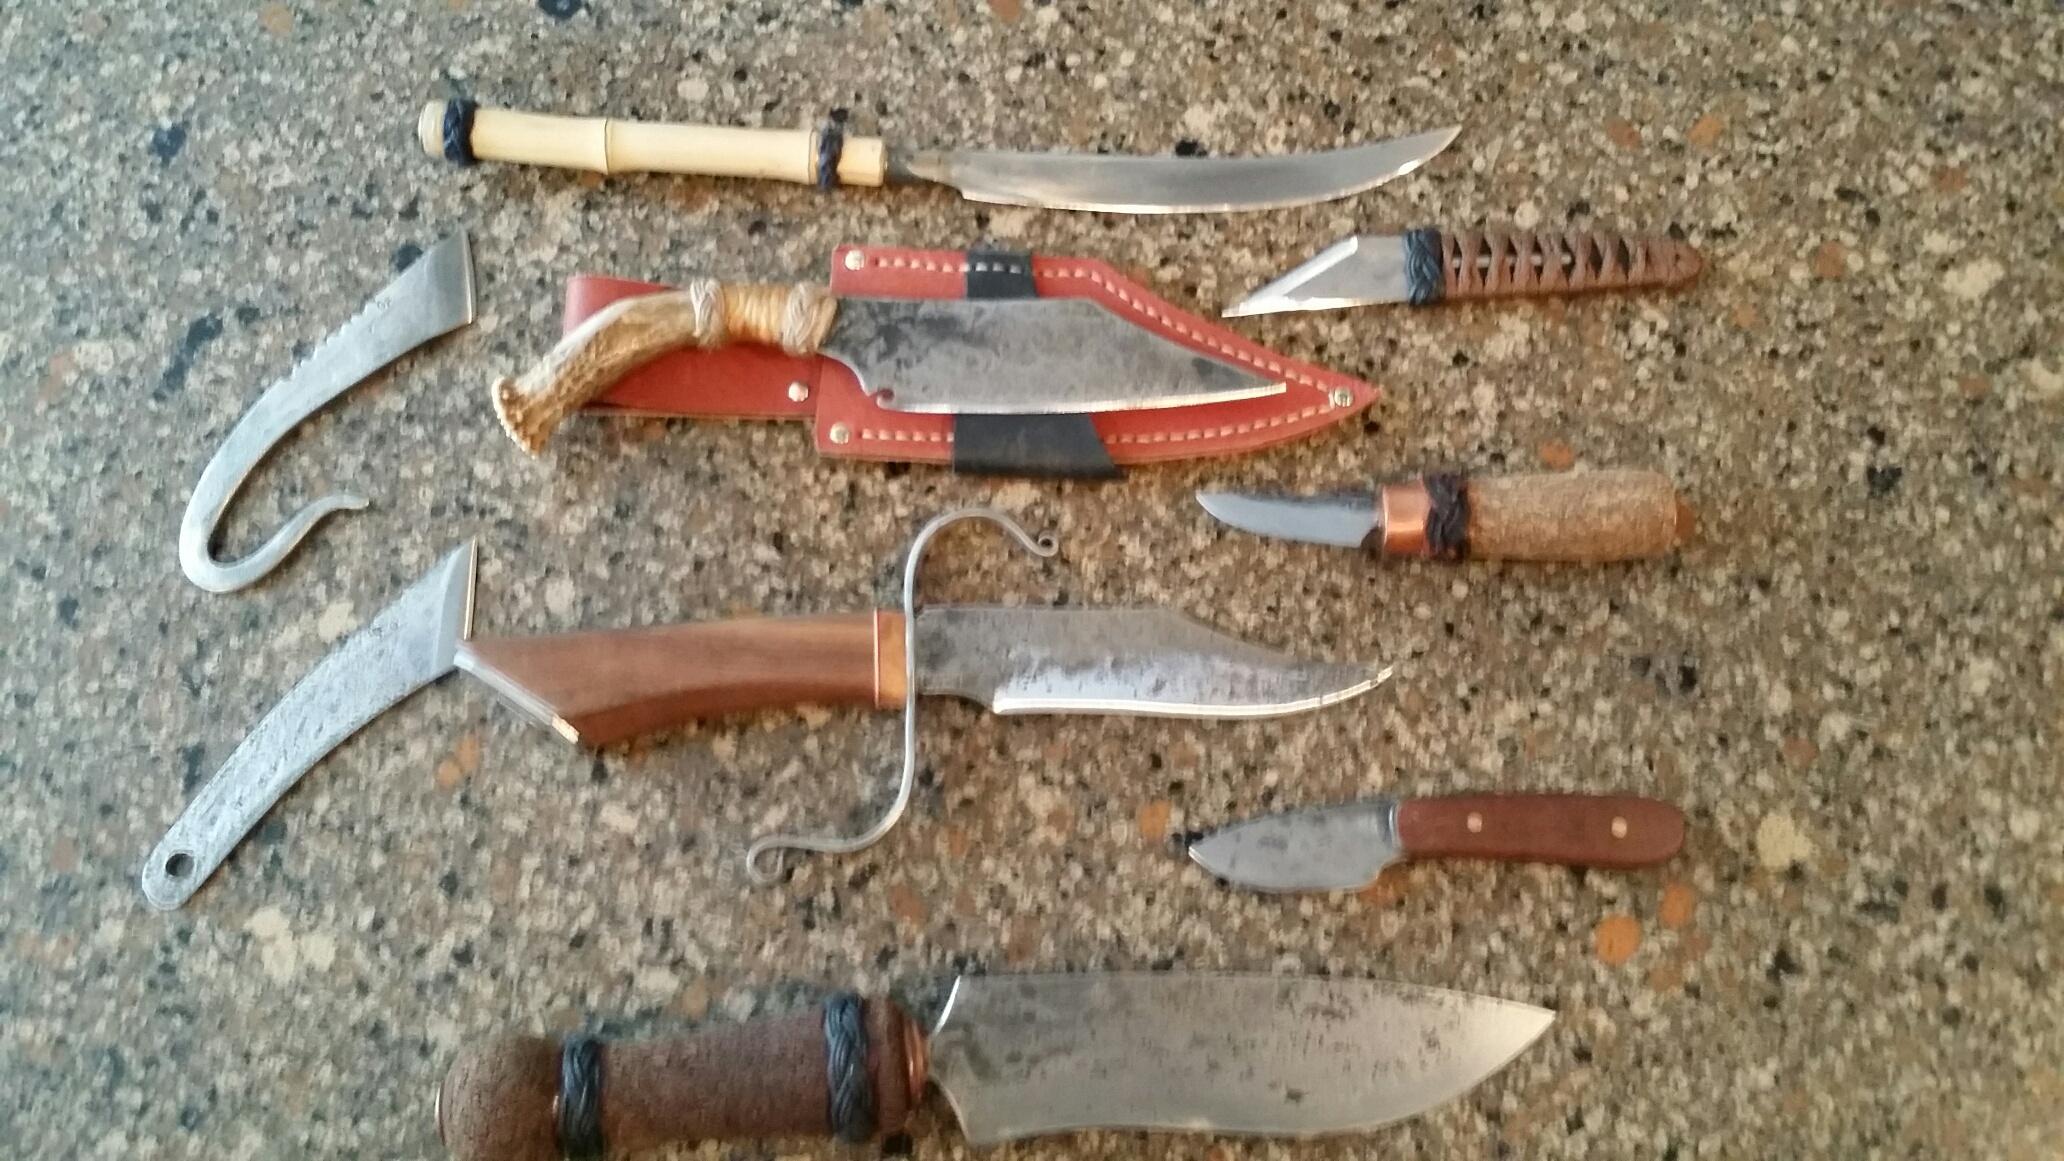
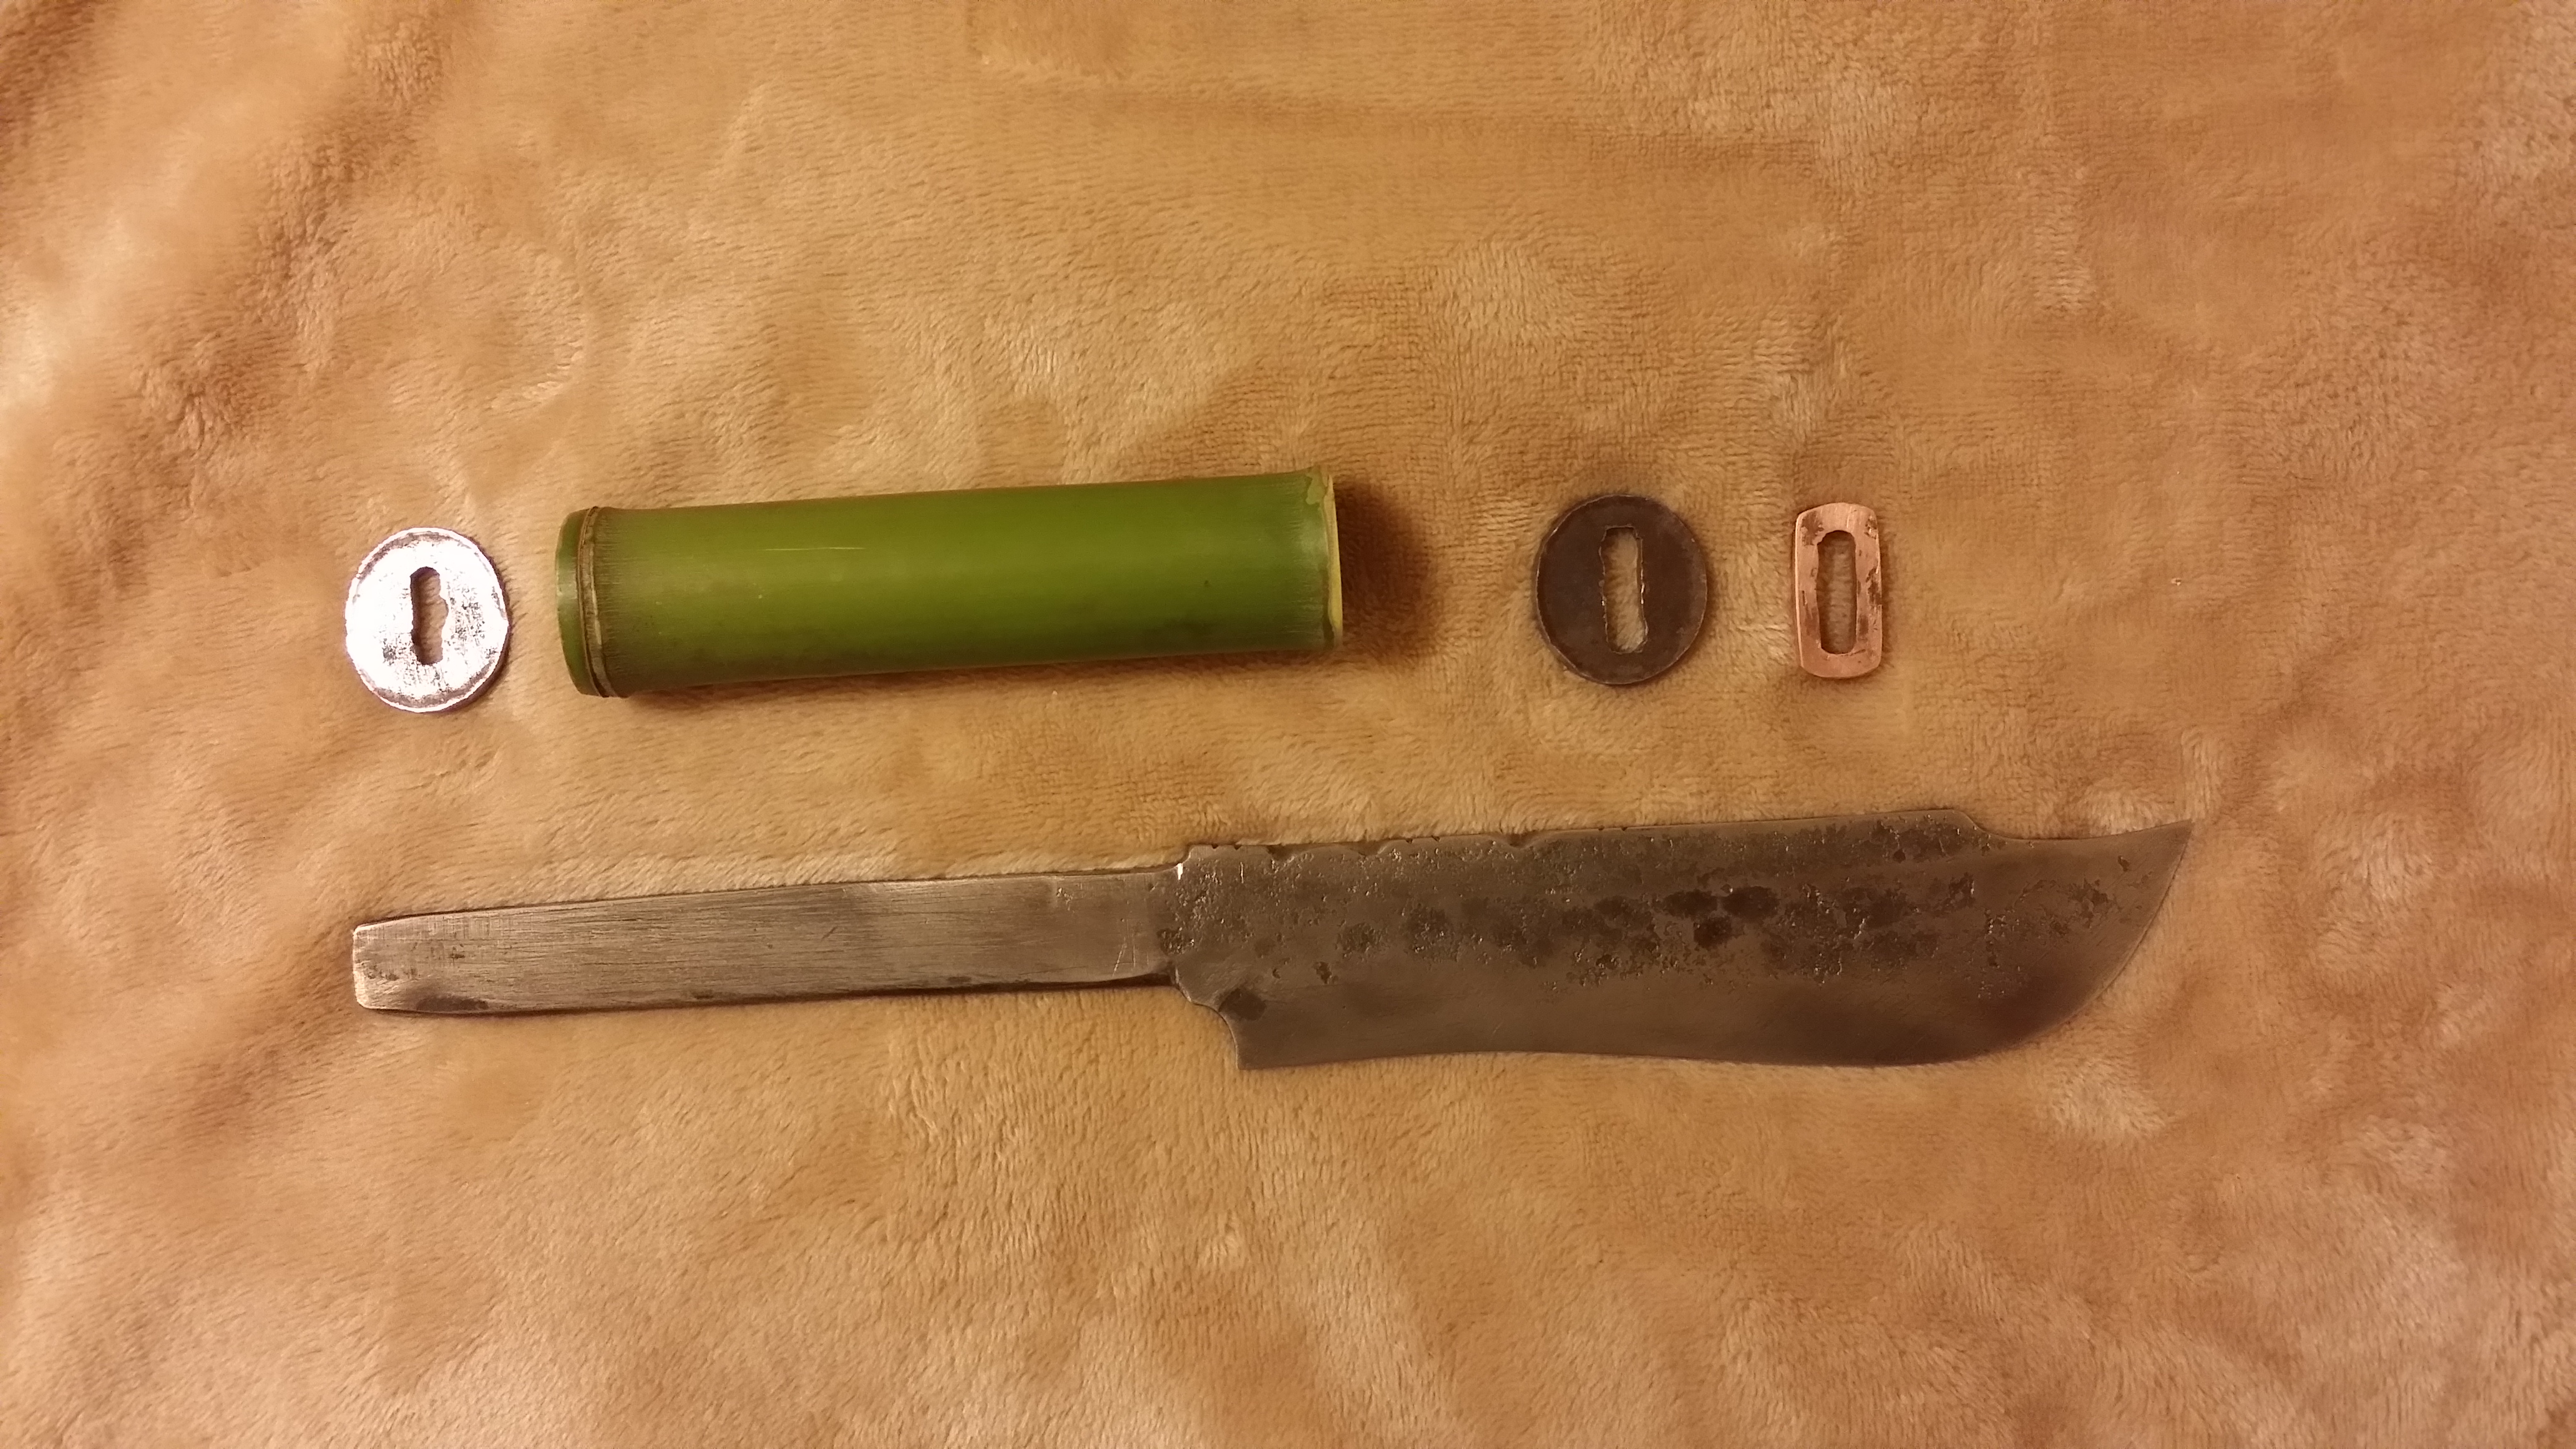
At this point you can construct the handle as you see fit and sharpen your new knife. This is just one of many methods to make your own knife. Whether it’s for a hobby or out of necessity, with some ingenuity and imagination you can make a knife that is strong, sharp and will give you years of reliable use.